Rear Disc Brakes for MG Midget, Austin Healey Sprite, and Bugeye Sprite*
*Note: creative spridgets no longer sells rear disc brake adapters. This page continues to be hosted for informational purposes.
Why mount rear disc brakes on your Austin Healey Sprite or MG Midget?
Disc brakes are more powerful, easier to modulate, and more fade resistant when racing, dodging stalled mini-vans on the highway, or on a mountainous descent.
Disc brakes recover from immersion in water more quickly, maximizing the "safety fast" equation if you live in damp, drizzly climes.
Disc brakes require no adjustment during the life of the pads, which come in a broader range of friction material than shoes and are less expensive. These images show typical pad wear after several years of spirited driving:
Servicing drum brakes is a frustrating, filthy task. Checking the wear on disc brakes merely requires removing a wheel and taking a peek, and replacing pads takes minutes, with no springs to chase or skinned knuckles.
This DIY conversion connects directly to the stock parking brake rods and is readily reversed. Transfer your rear disc brakes to your new Spridget!
The parking brake holds better than with drums.
The emergency brake will actually stop the car, even with total hydraulic system failure (try that with stock drums).
Retro-fitting disc brakes on the rear axle honors England's historical role as a pioneer in disc brake technology. The first caliper-actuated automotive disc brake was patented in 1902 by Frederick William Lanchester at his Birmingham, UK factory.
So, why not mount disc brakes?
That's easy. Prepackaged conversion kits range from $1,500 to $2,000. Ouch!
Enter Creative Spridgets DIY rear disc brake conversion!
If you opt for used calipers, the total cost of this conversion is around $400, including a pair of CNC-machined aluminum adapters.
Add $200 if you prefer rebuilt calipers or cannot find used ones. (See the parts list page for more detail, and fitment note for Australian and some other non-United States customers.)
Even with rebuilt calipers, the cost is less than 50% of the next cheapest alternative, a savings of over $700!
The savings over the most expensive alternative is roughly $1,300, even when using all new parts to perform this conversion!
You can pocket the savings or pay a mechanic to do the conversion!
If you live in Ohio or just need an excuse for a road trip, here is a reputable shop that can handle the job. Derek Chima's meticulously finished race cars have been featured on British V8 magazine:

Why is this conversion so inexpensive?
First, as you will see on the conversion procedure page, the DIY approach saves you hundreds of dollars by requiring you to:
drill four holes;
spend a few moments using a hacksaw, file, and a die;
bend two 8" brake lines; and
have access to a Dremel or drill motor.
We could design additional custom parts and sell pre-machined rotors, but it is easy and satisfying to perform the handful of tasks in this conversion, and doing so saves you a pot of money.
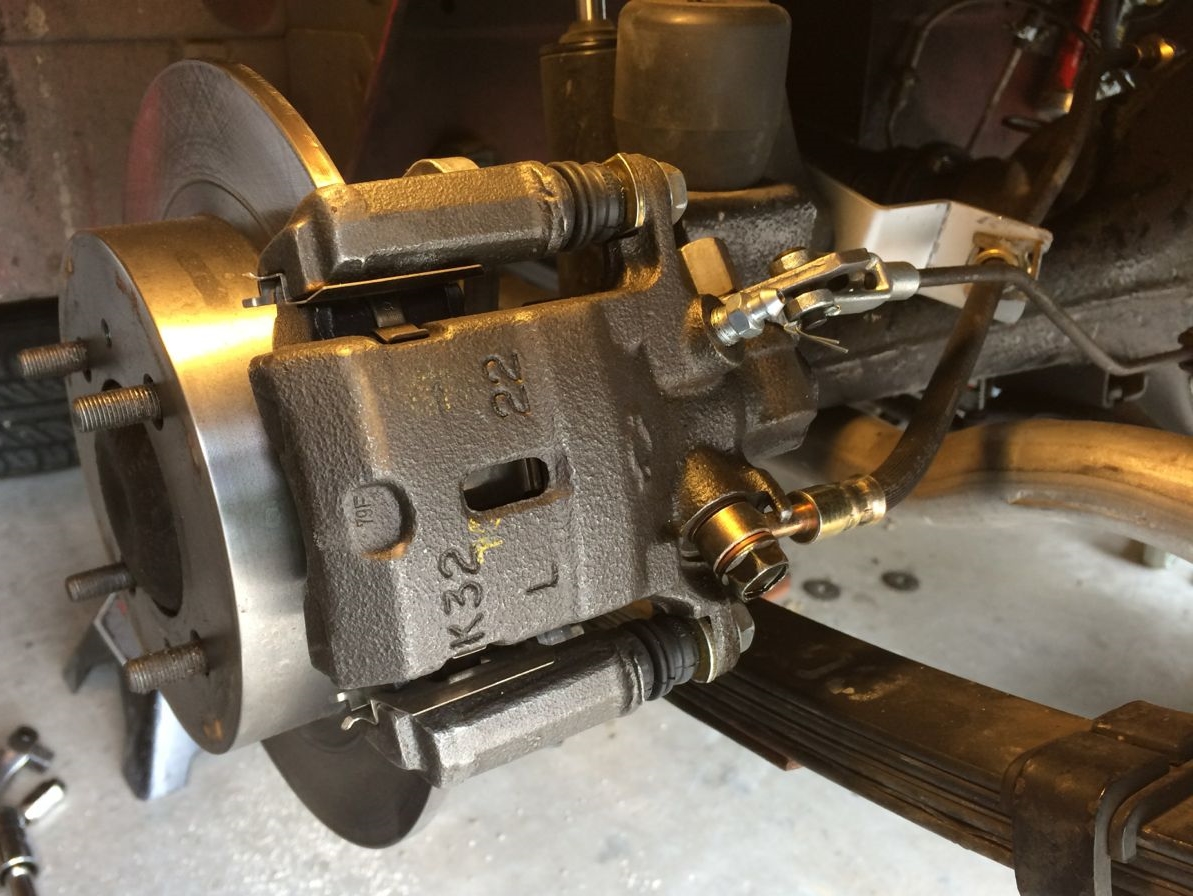
Second, this conversion uses calipers, rotors, hoses and pads from a 1995-99 Nissan Sentra SE or some GXE models (many had rear drums), or a 1995-98 200SX, which are widely available. (See the parts list page for more detail, and fitment note for Australian and some other non-United States customers.)
It is impossible to compete with parts manufacturers' massive economy of scale. So, instead of maintaining an inventory and marking up the parts to maximize profit, we designed a conversion that exploits this economy of scale to benefit you.
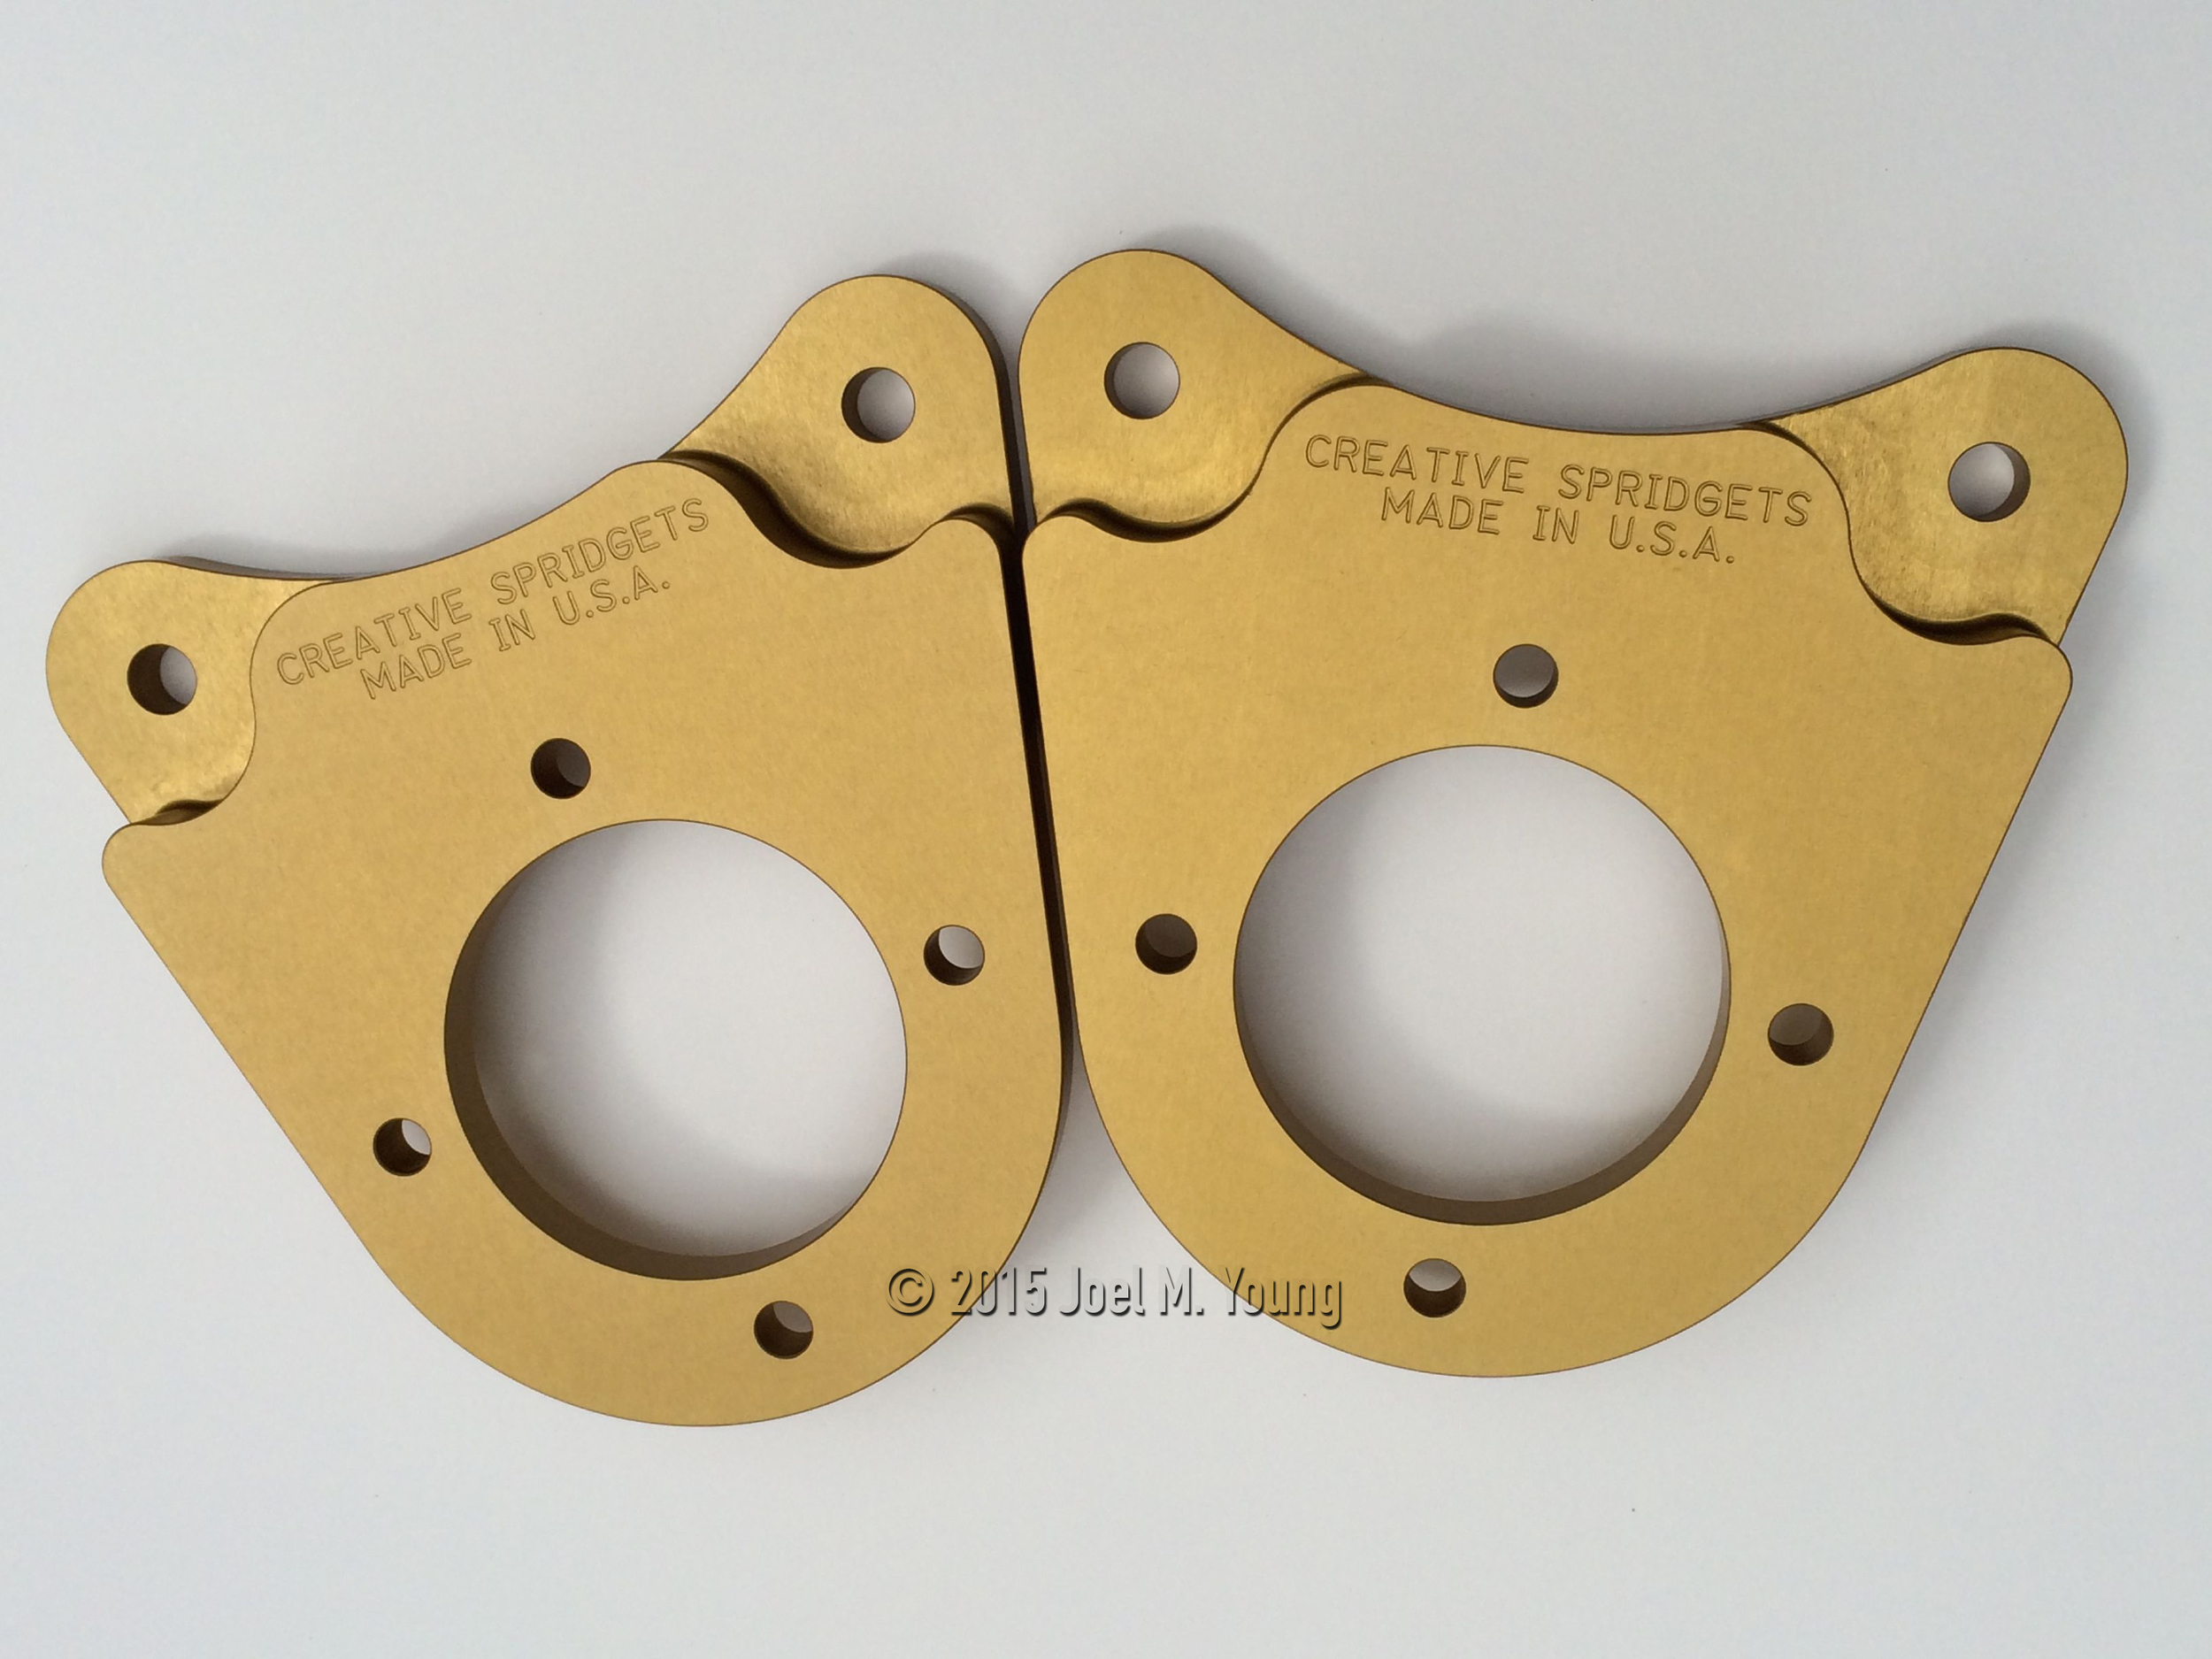
Third, we designed and sell the only component that is not commonly available, and which cannot be produced inexpensively without a large-scale, computerized machine shop--the robust, precision-crafted, anodized aluminum adapter plates at the heart of the conversion.
The result is an affordable disc brake setup that is simple to install and service, looks like it belongs on the car, and is easily reversed.
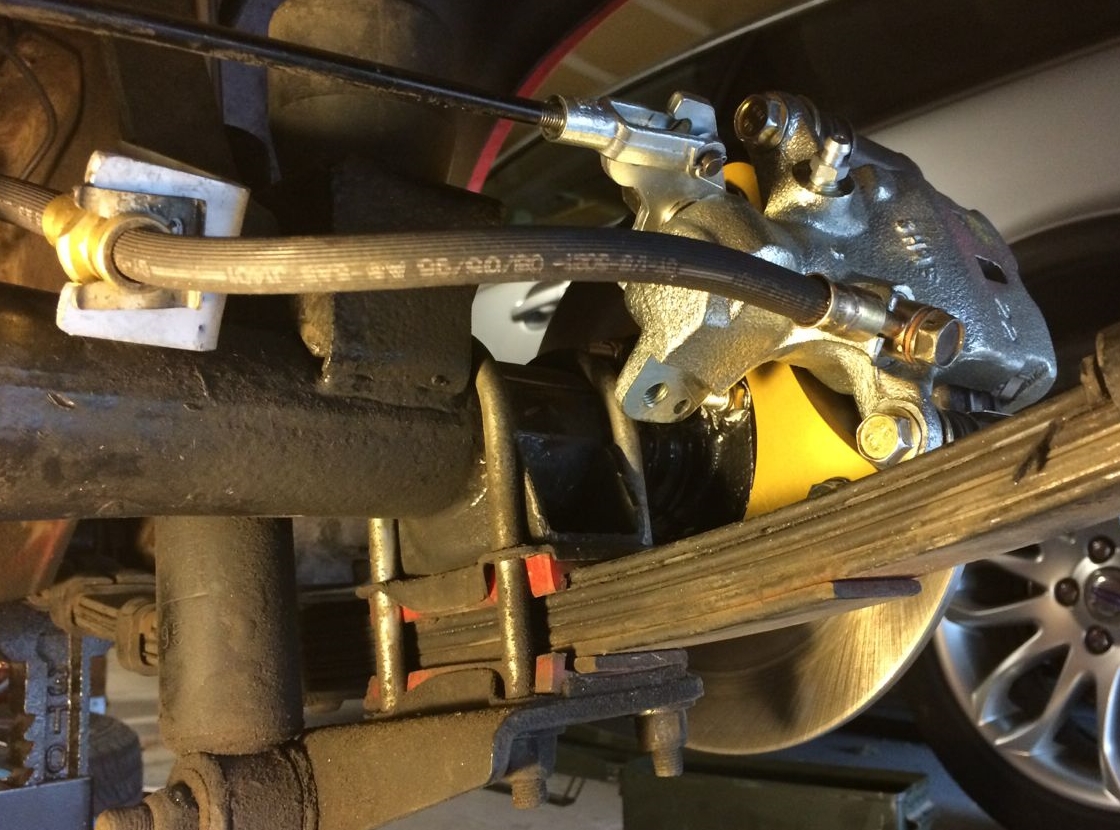
Here are some photos of the installation, which can be accomplished in two weekend mornings, leaving time for a Sunday test-drive:
(use right-left arrows to manage the slideshow)
Get Started!
To see if this is a project you are comfortable doing, click here to review the conversion procedure, and check out what customers are saying about the conversion by clicking here.
To get started, click here or navigate to the 'purchase' page and get a set of CNC-machined, 6061-T6 aluminum, anodized adapter plates made in the U.S.A. by machinists who actually earn a living wage.
Visit the parts list page for parts numbers and sources for the remaining components. If you find cheaper sources, please let us know so we can help our fellow Spridget owners save cash!
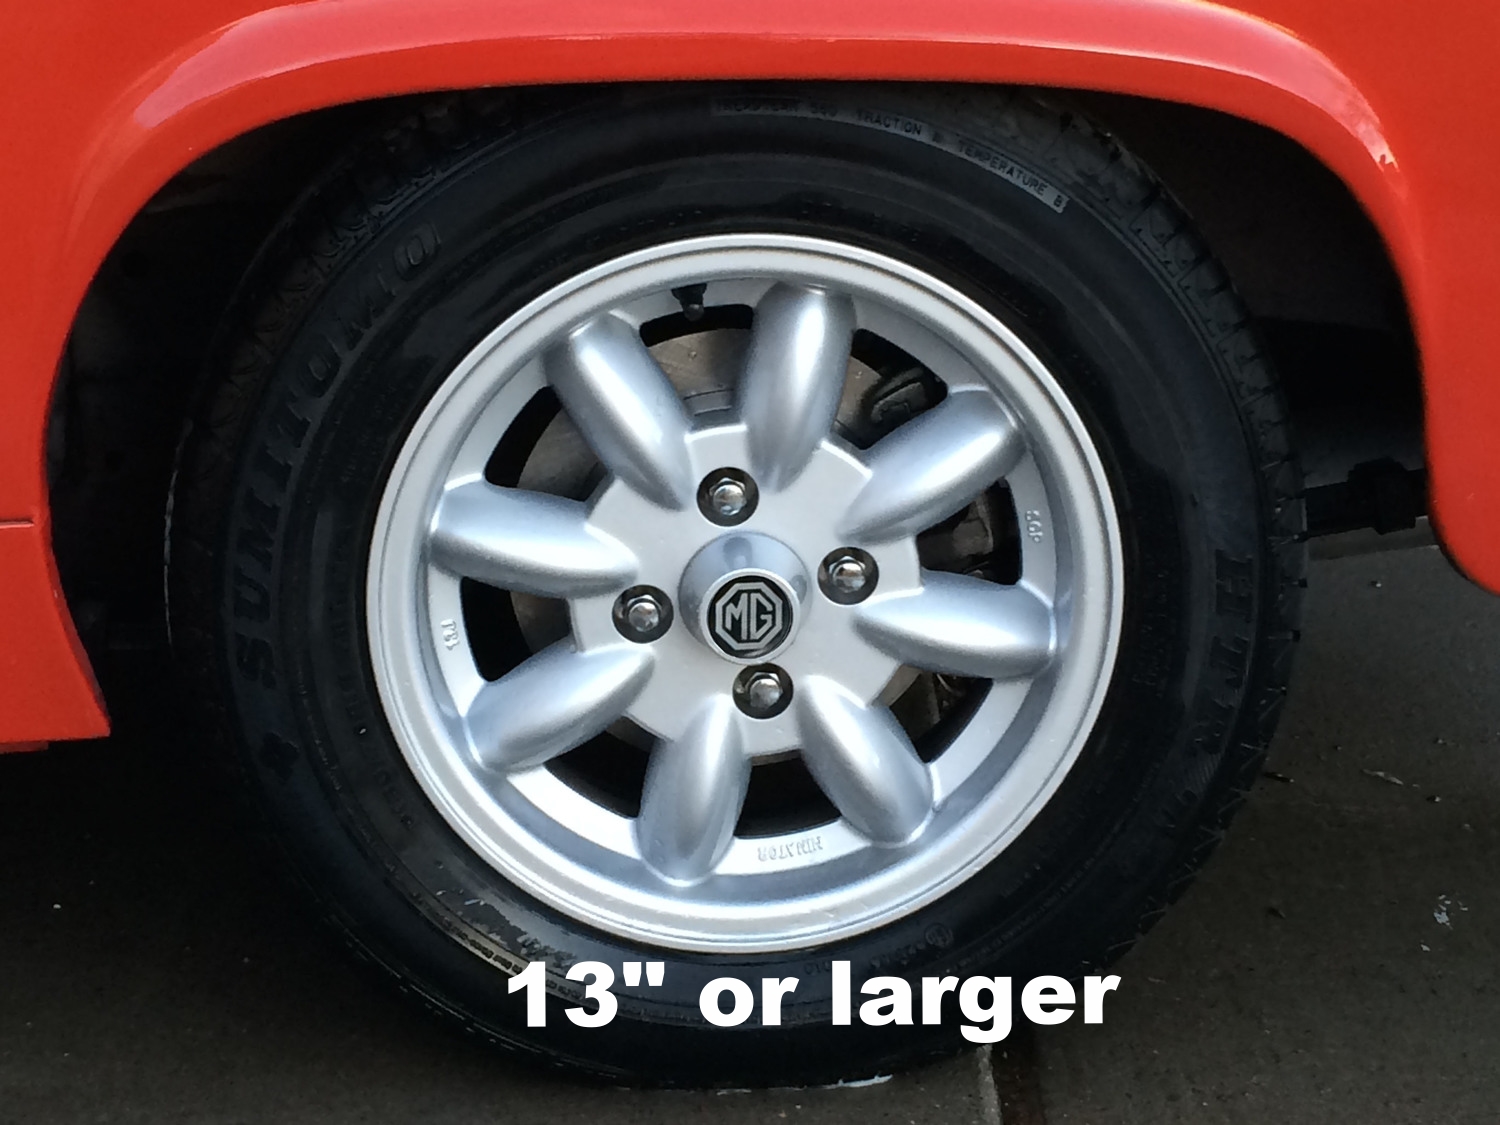
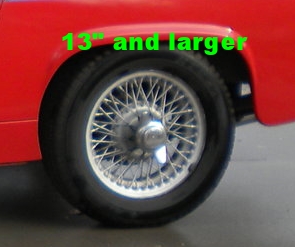
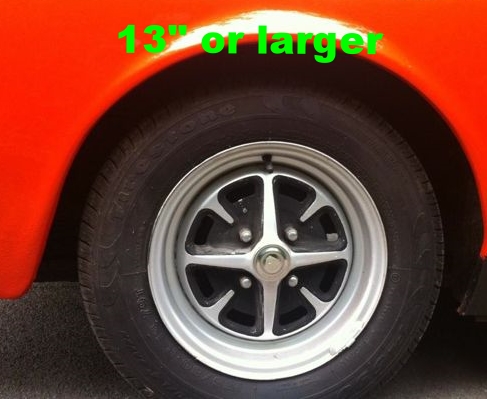
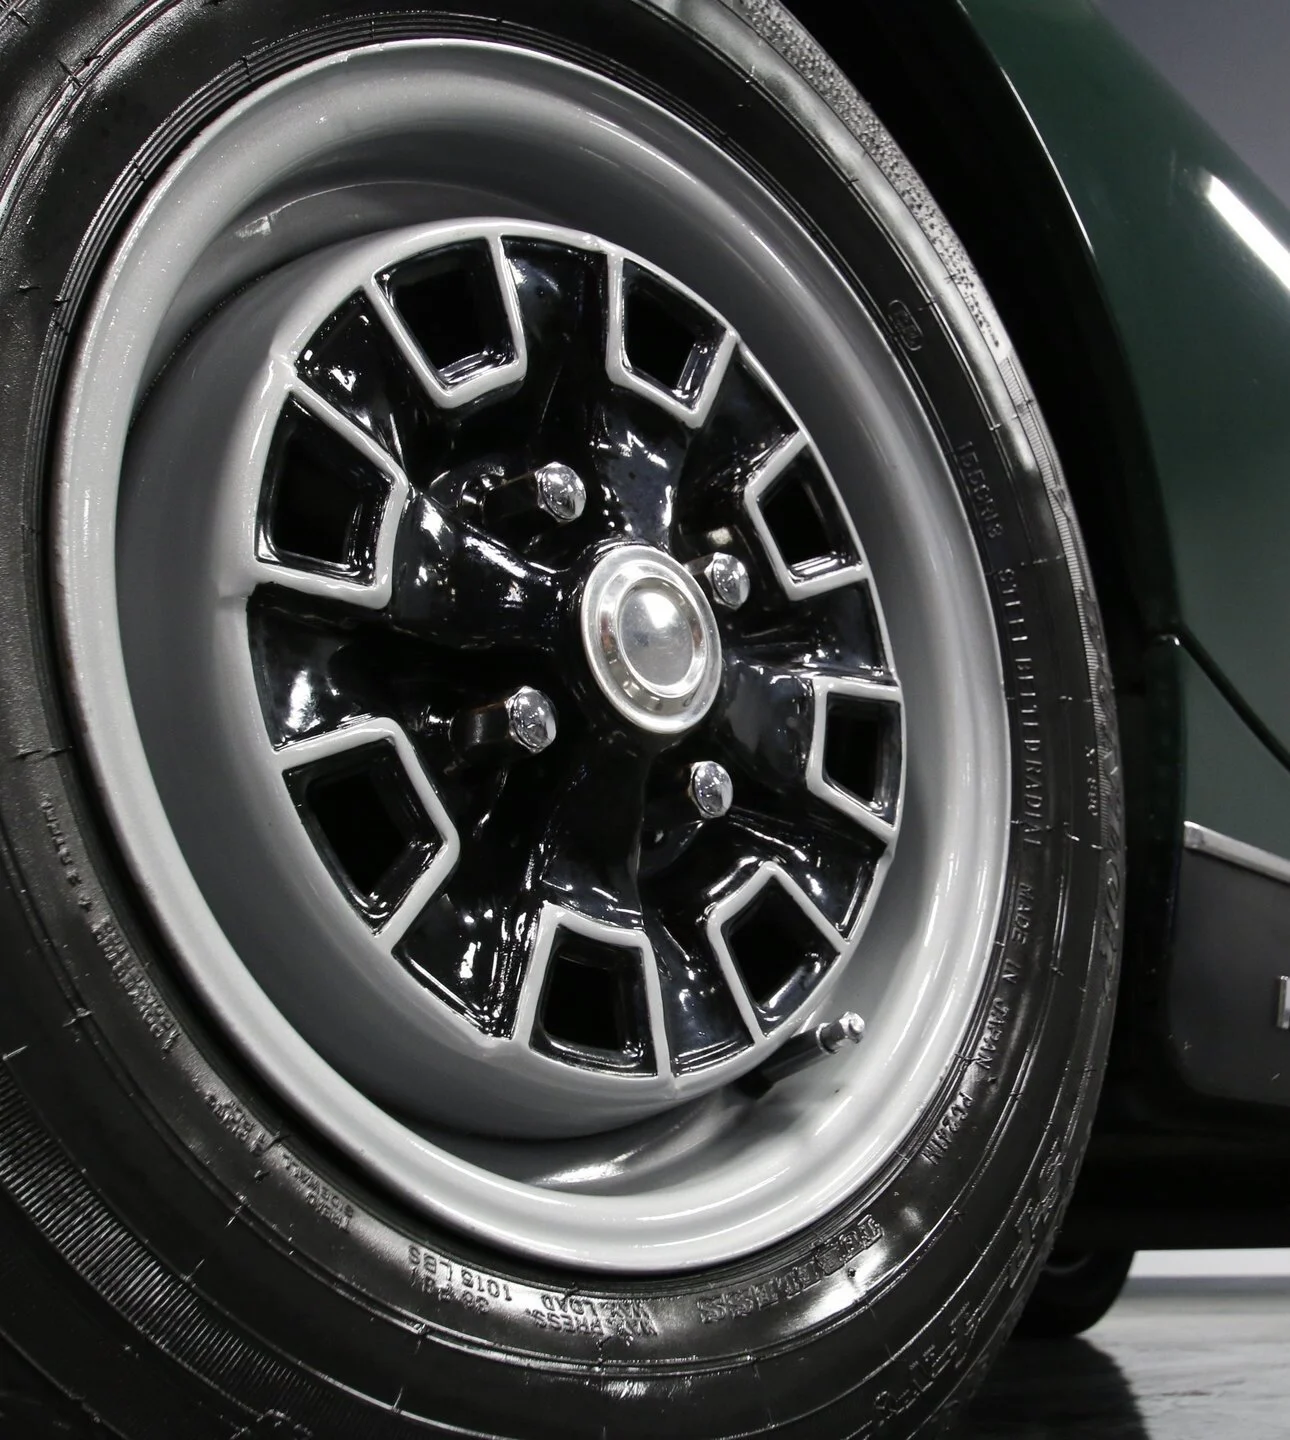
Fitment note for wheels
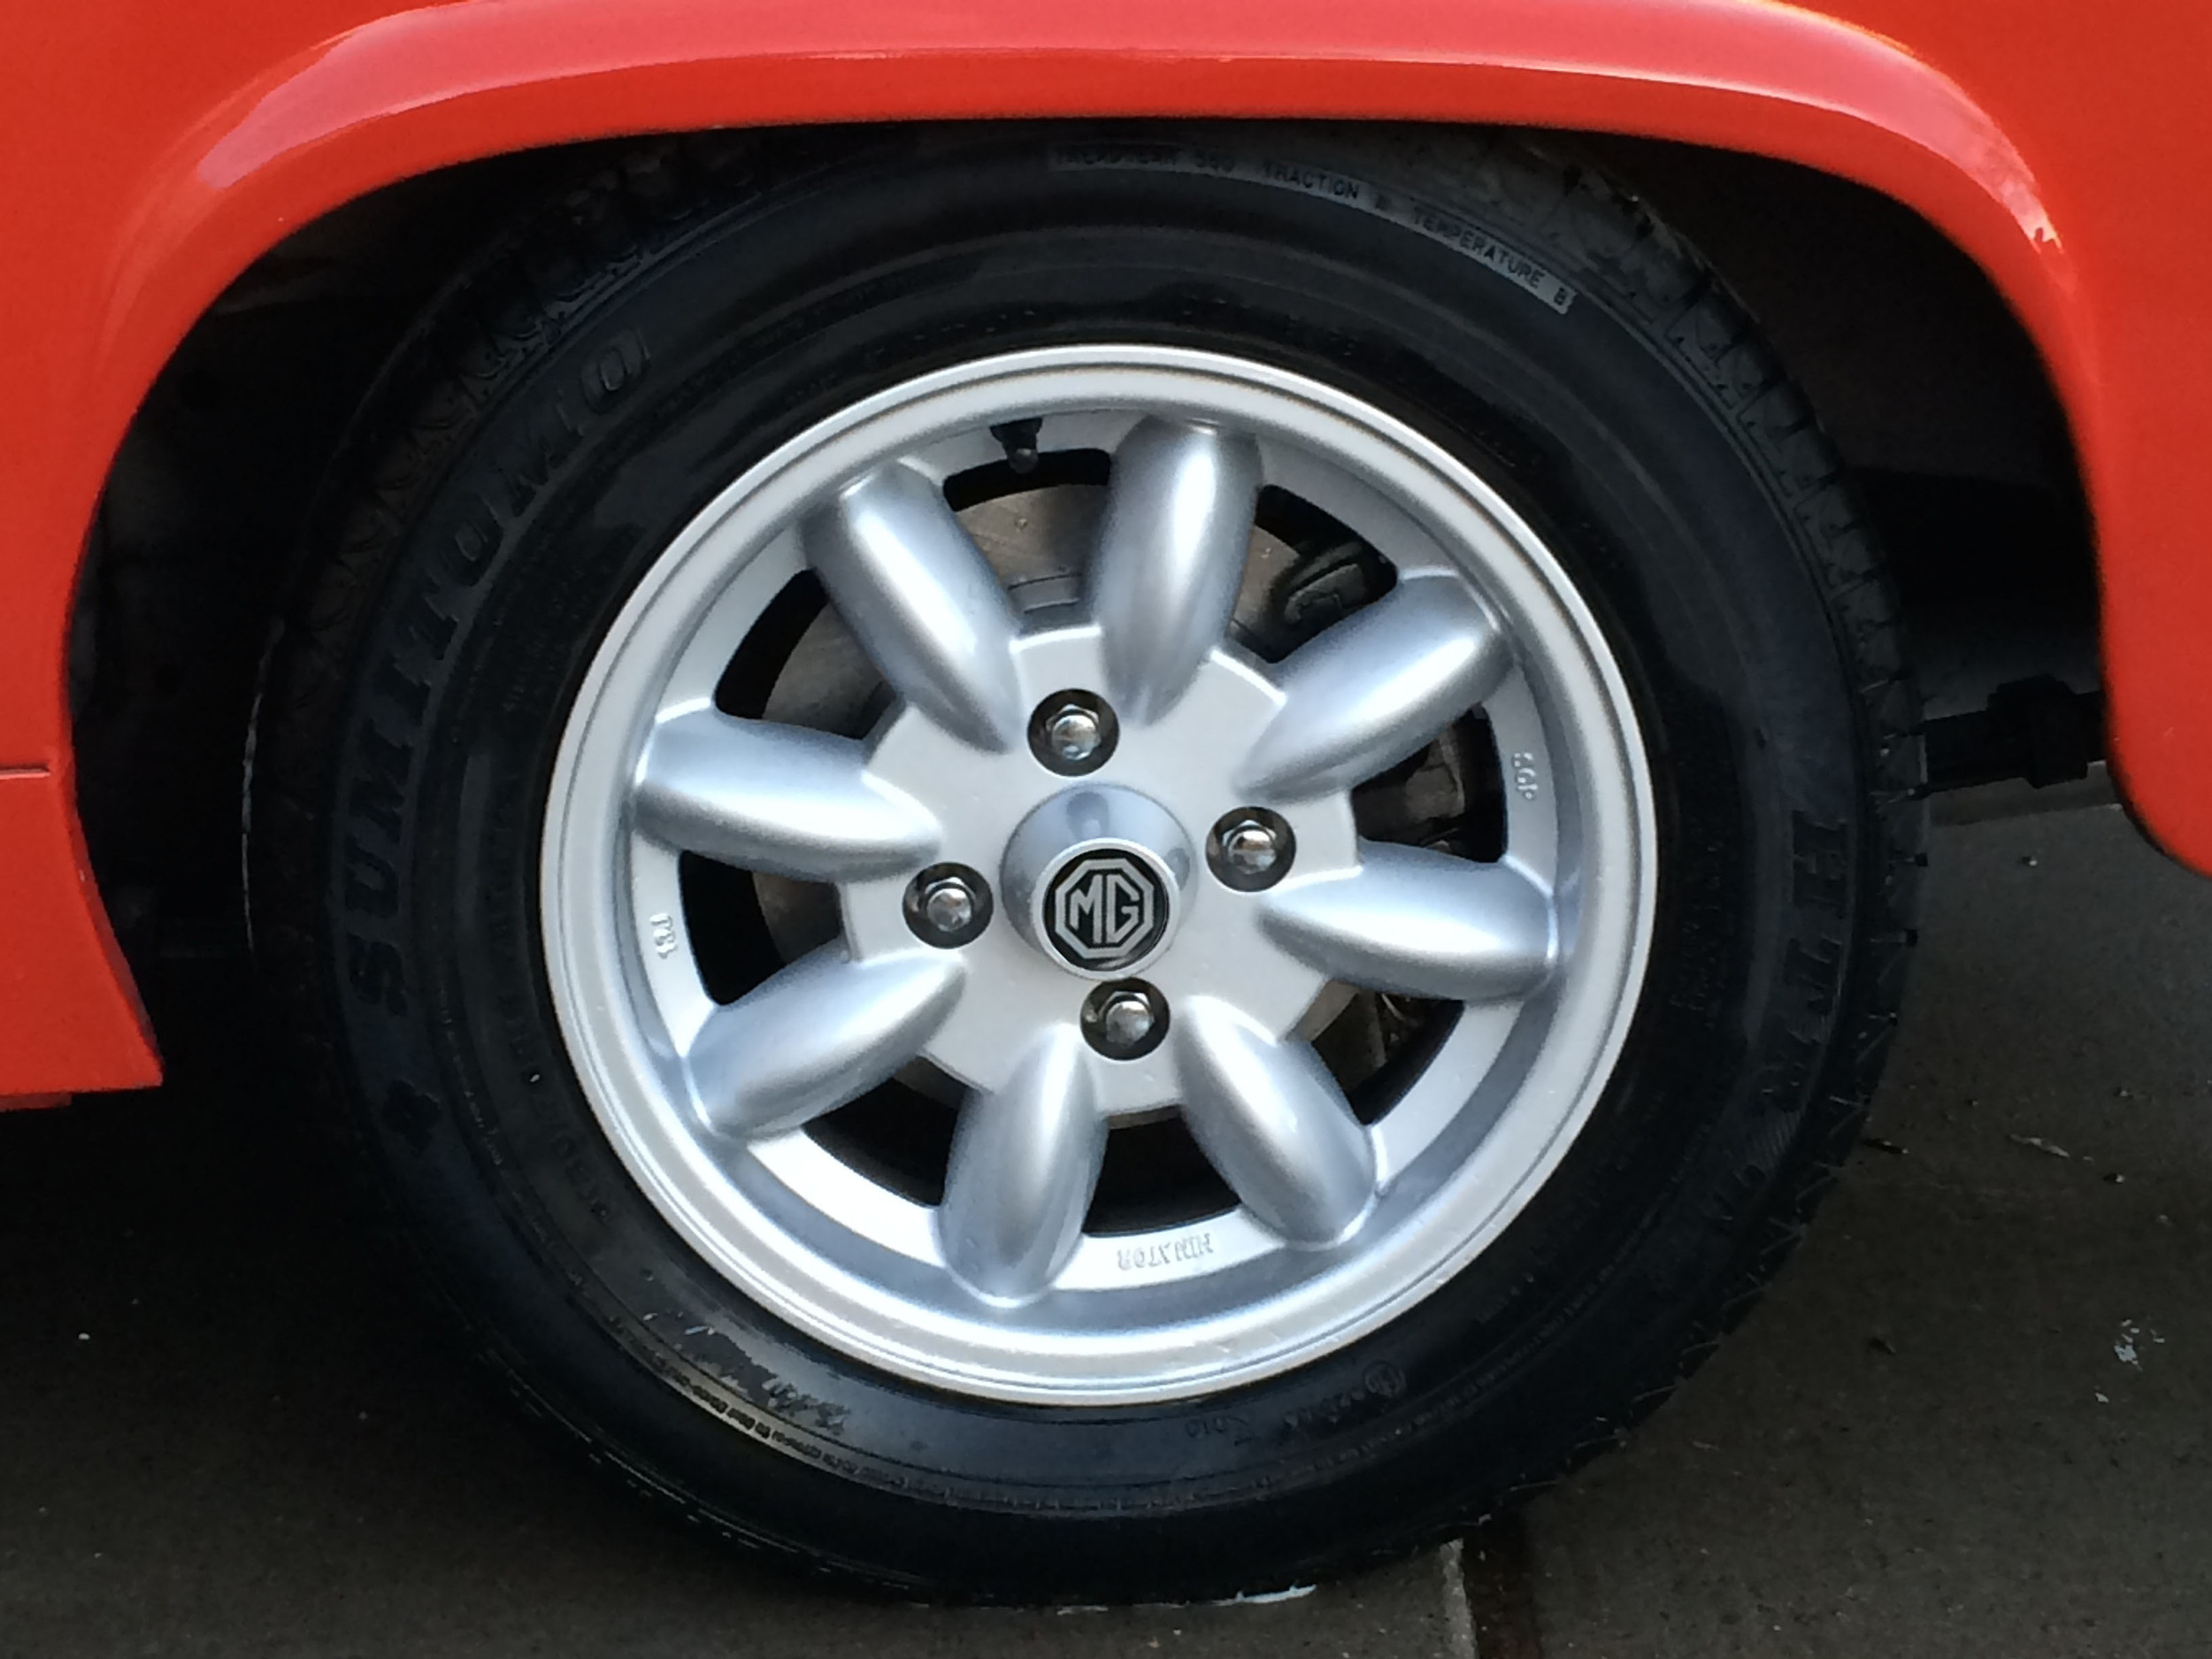
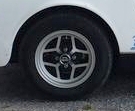
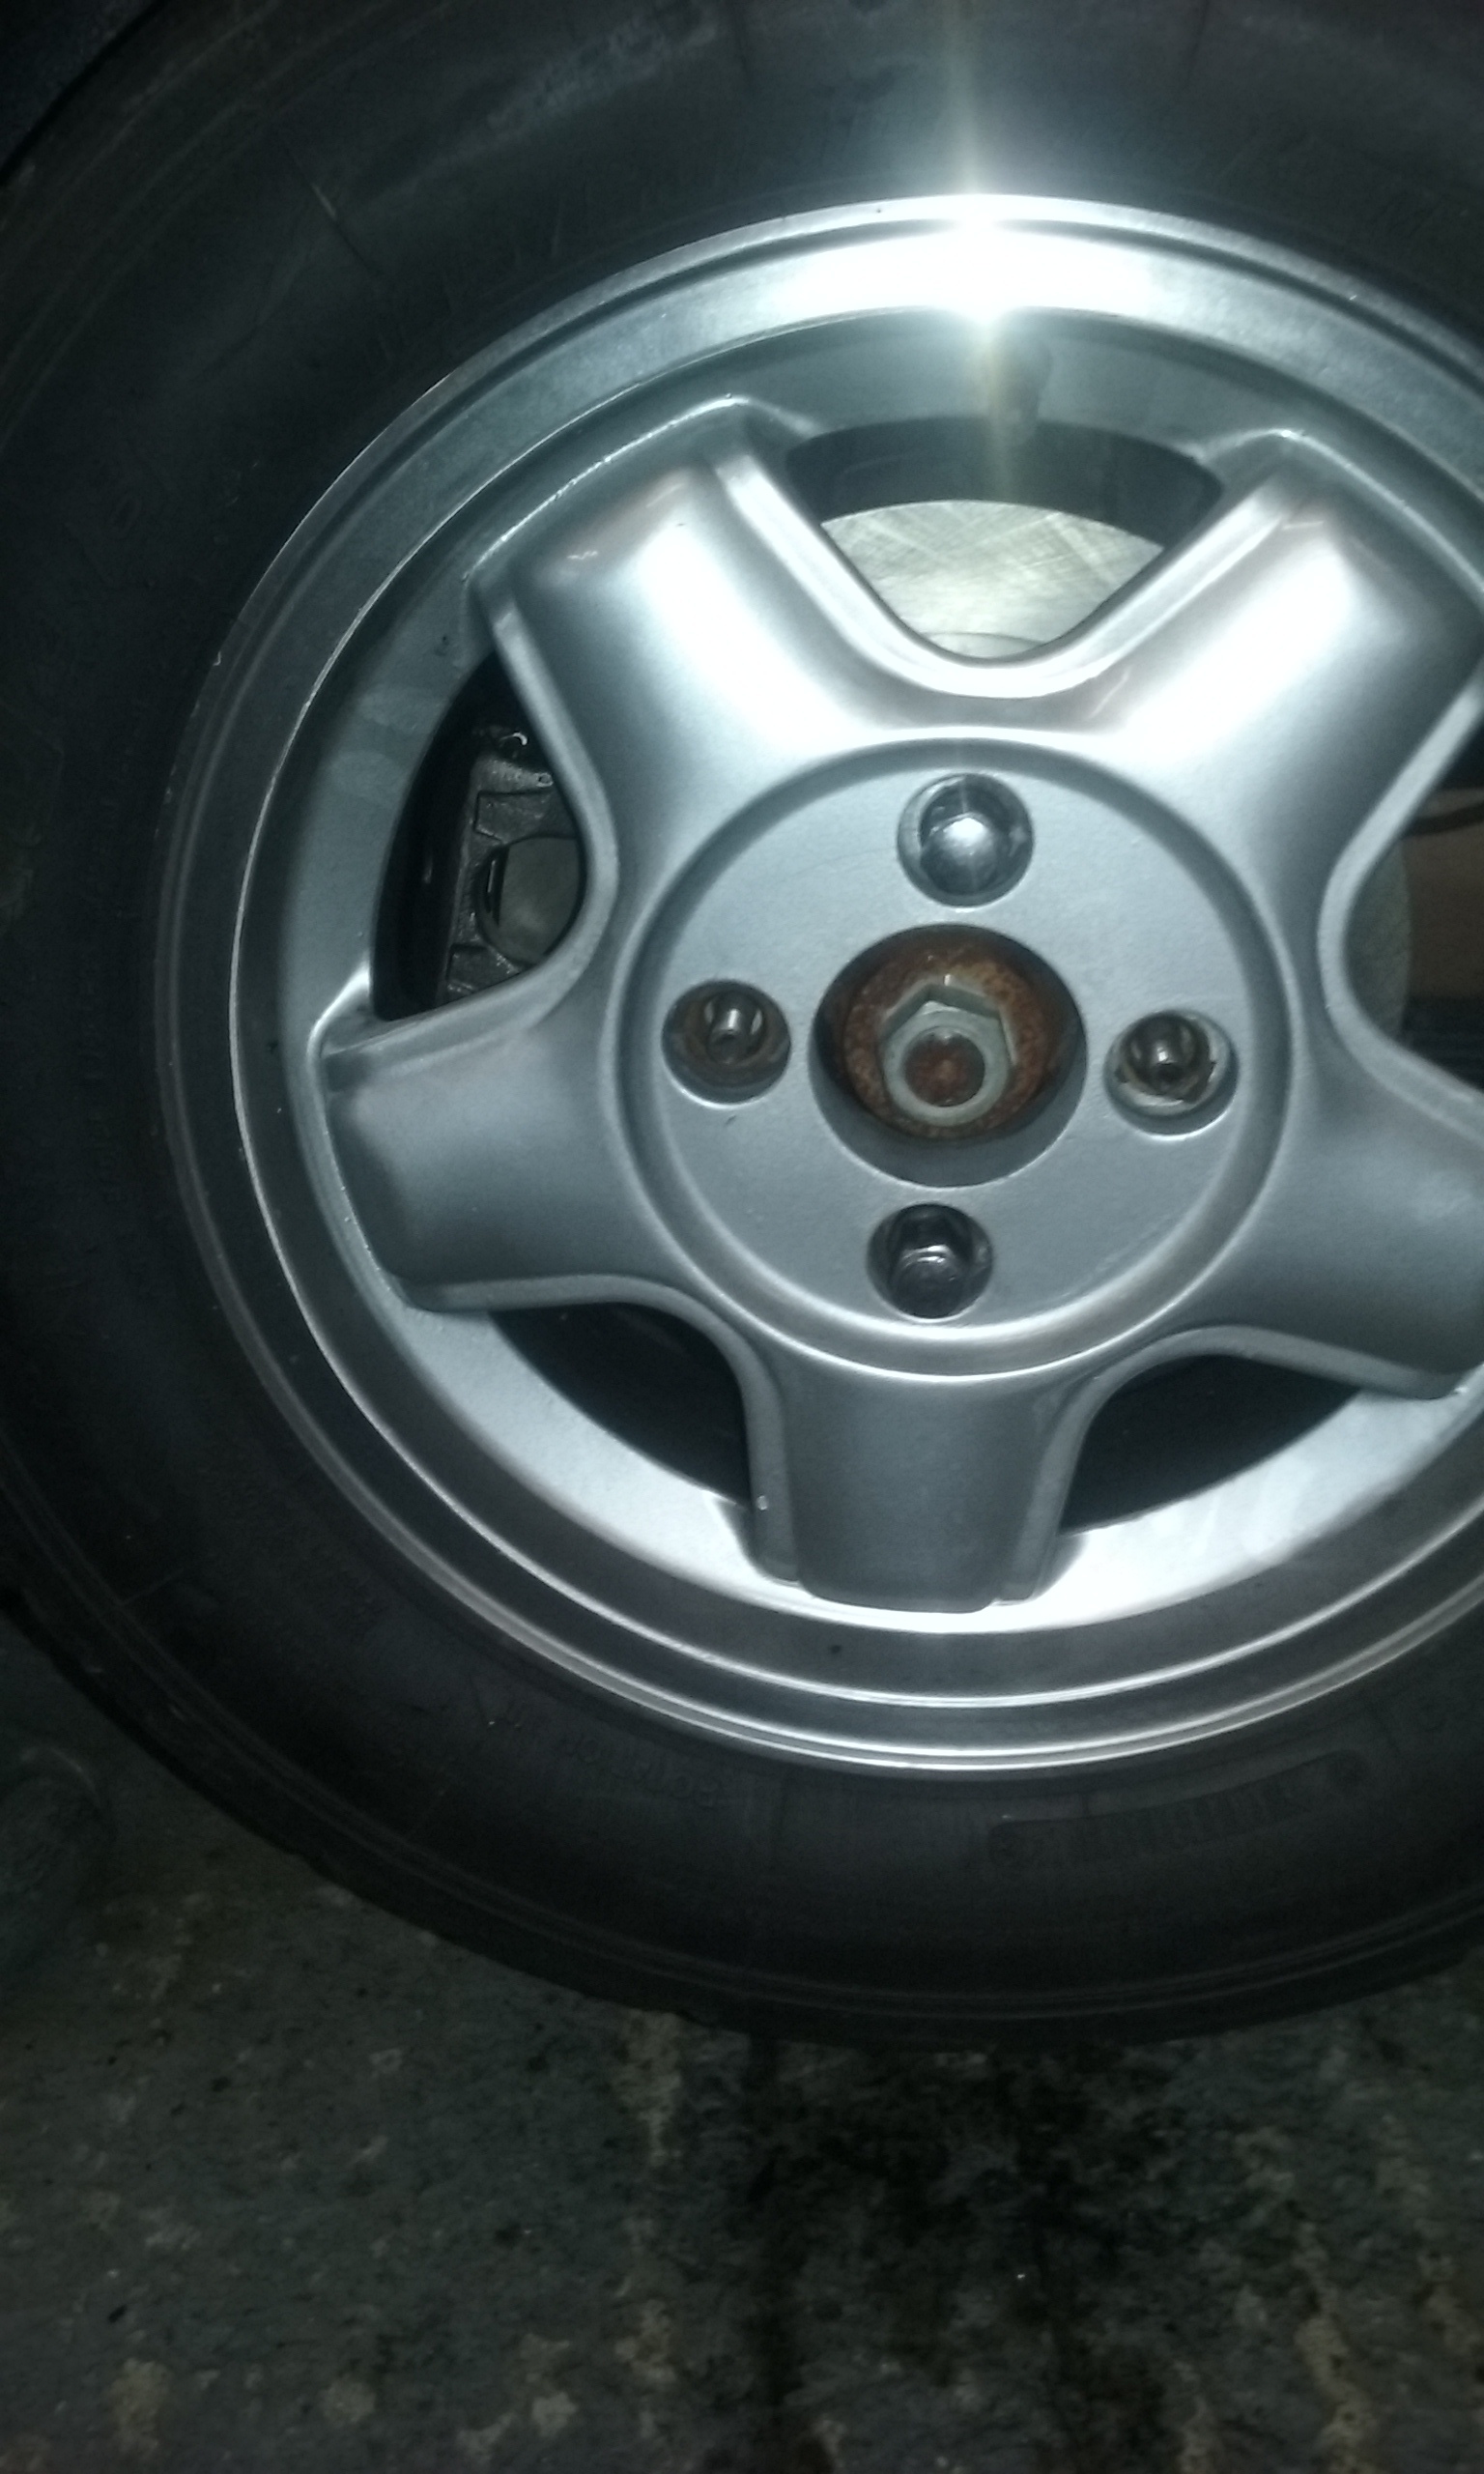
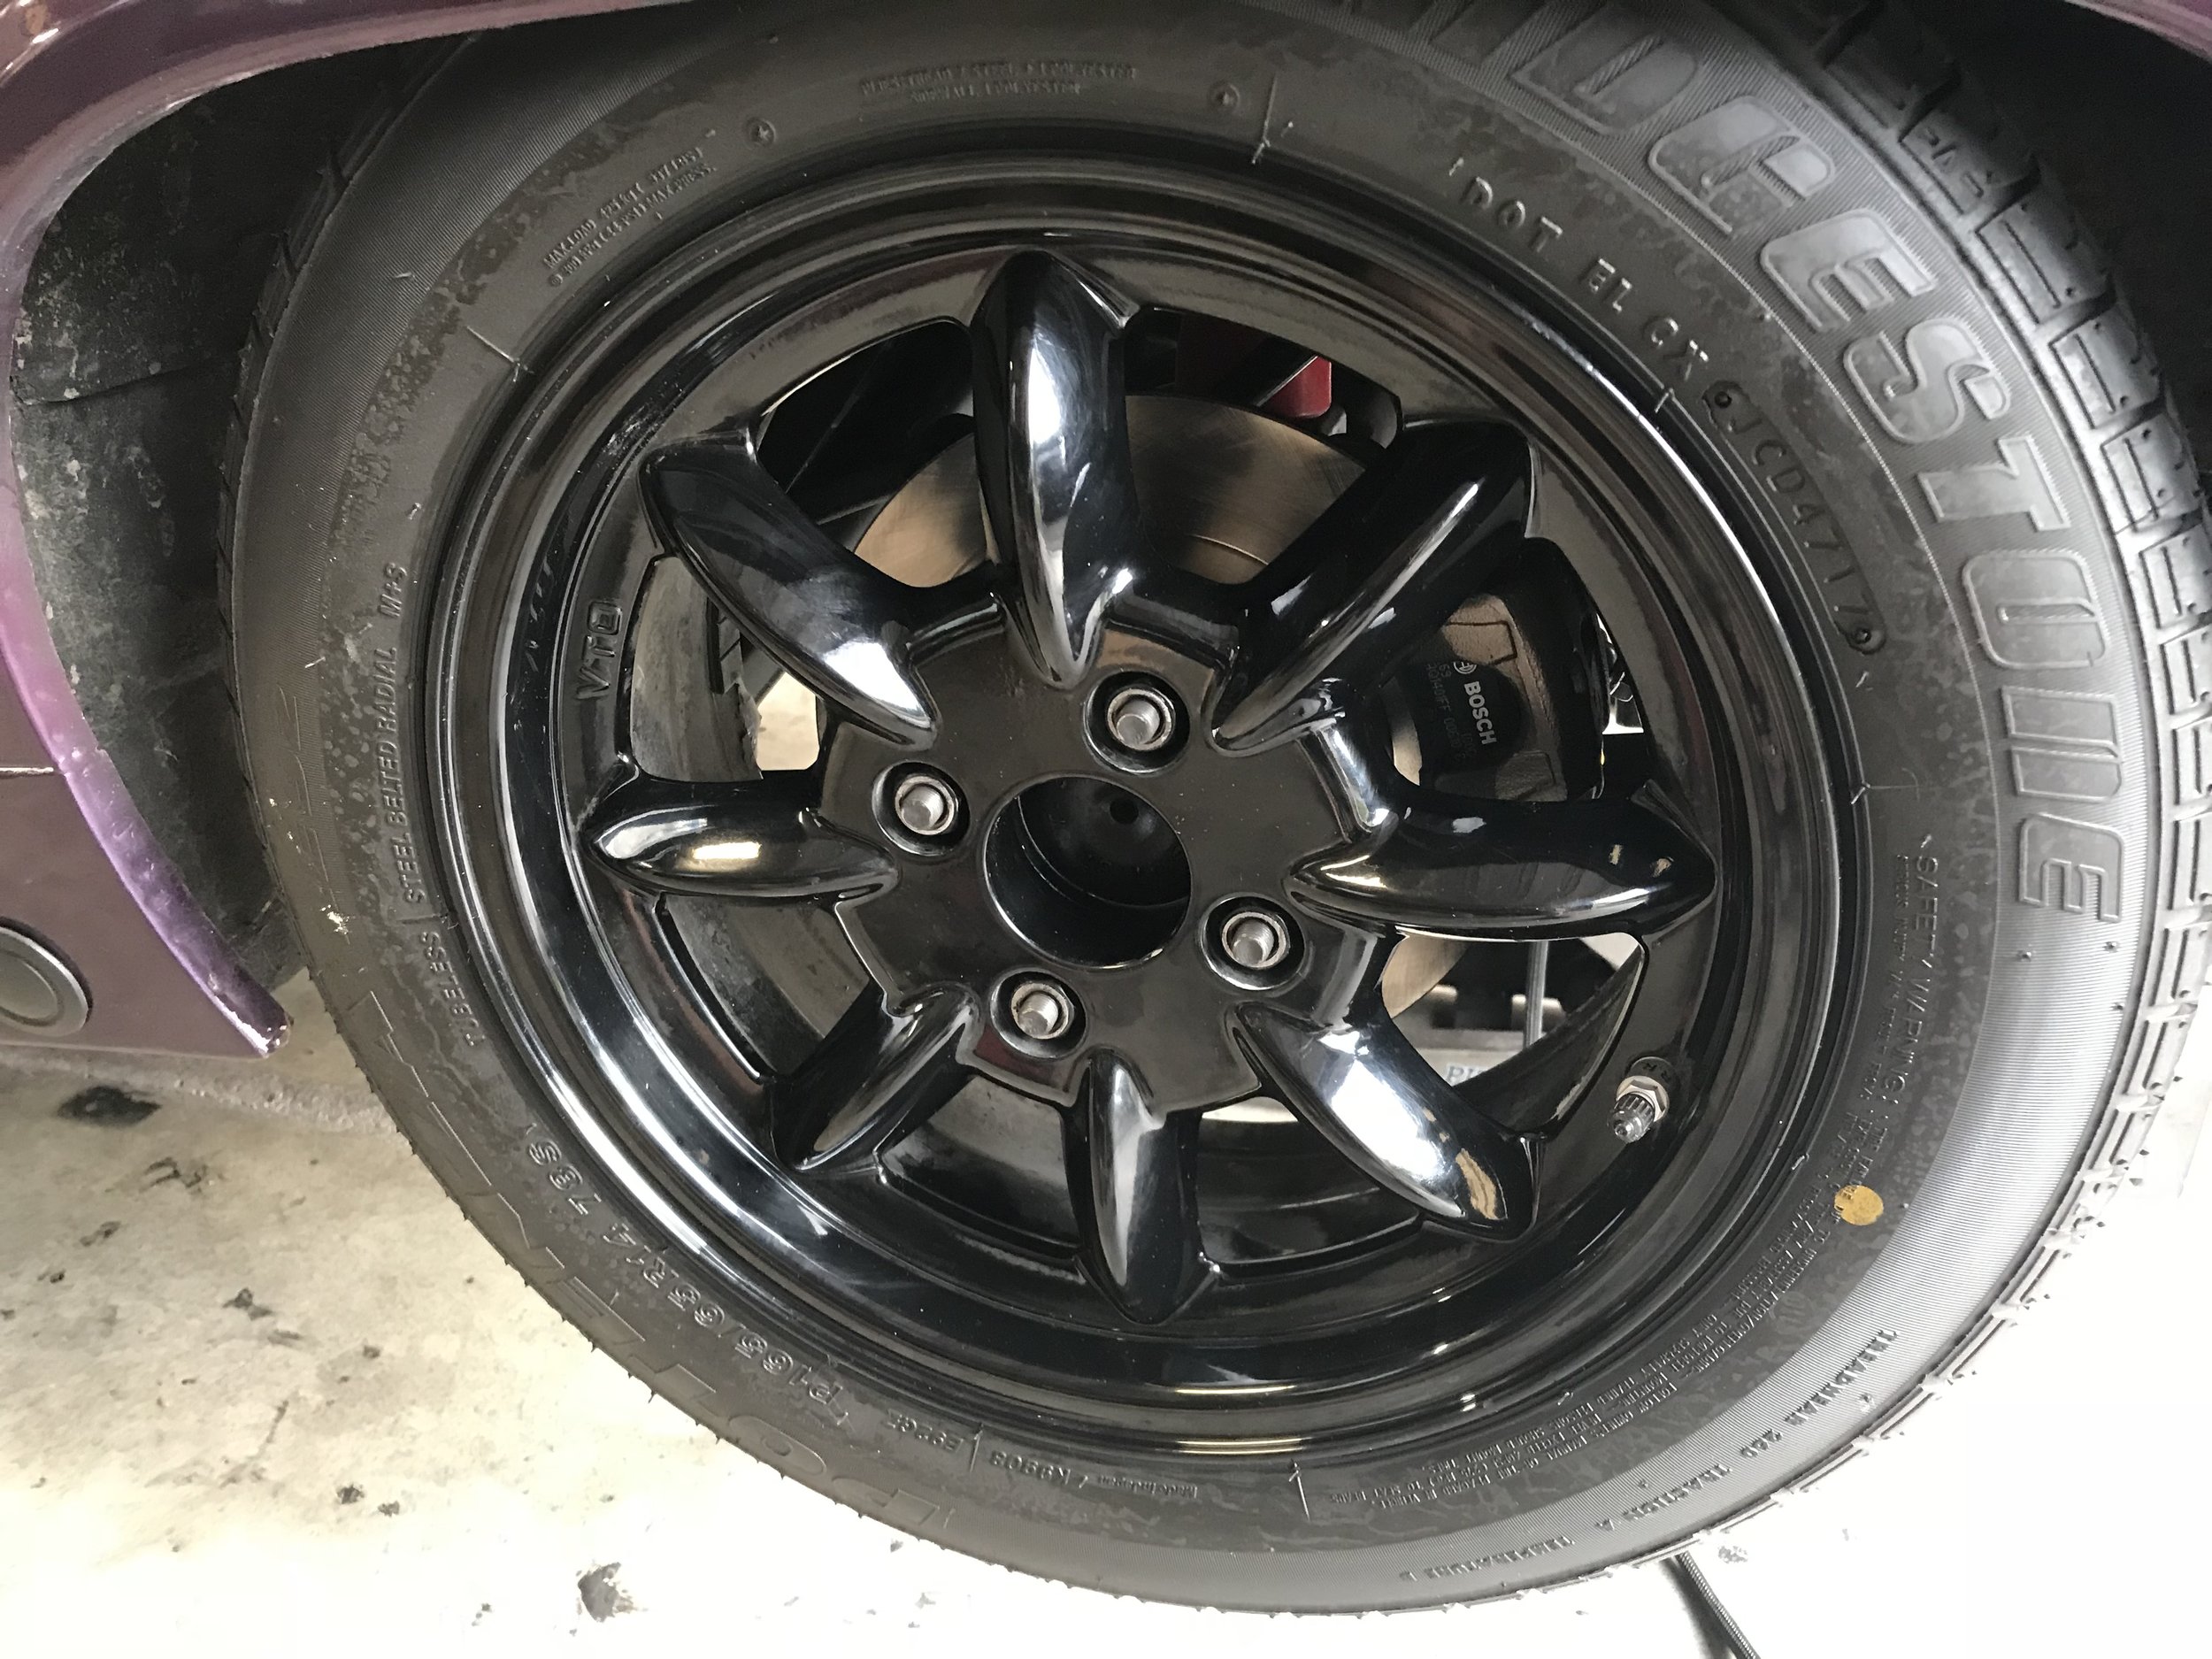
This conversion will work on all Midgets and Sprites, including early models and the Bugeye featuring 1/4-elliptical leaf springs. However, you must have one of the wheel types pictured below, as we do not believe the calipers will fit inside the early-style pressed steel wheels.
All of the pictured wheels will fit, size 13" and up. The silver VTO in the fifth photo is a 14" rim, but the 13" version will fit. Please send us your photos of other wheels that work!
See the note below the photos, with measurements for custom or racing wheels.
Custom or racing wheels
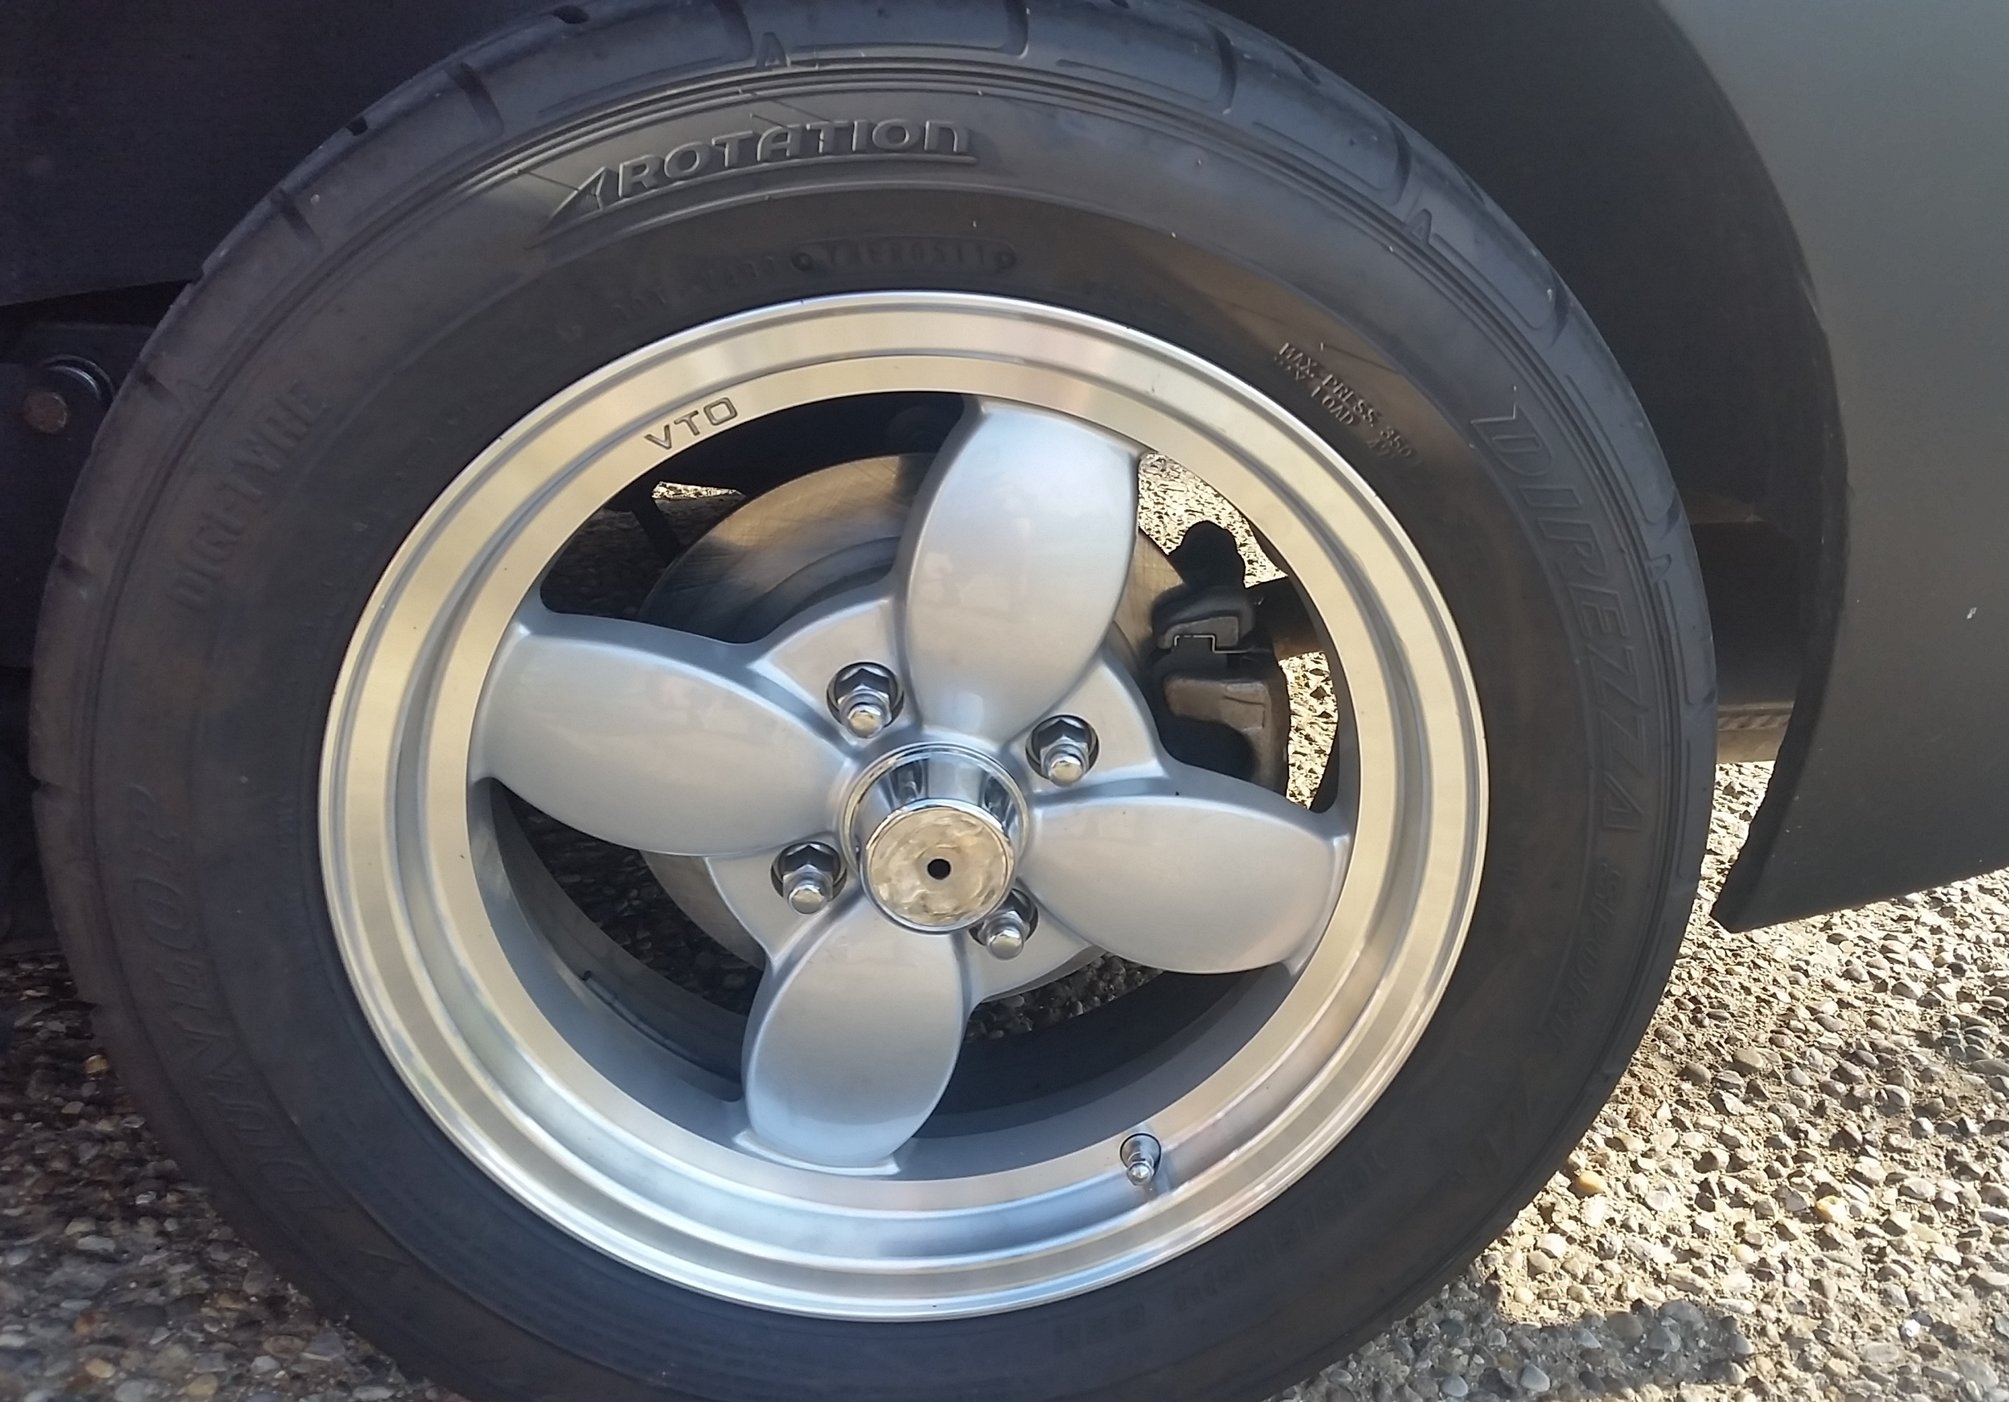
The following photos depict measurements to help you determine if this setup will fit inside your custom or racing wheels.
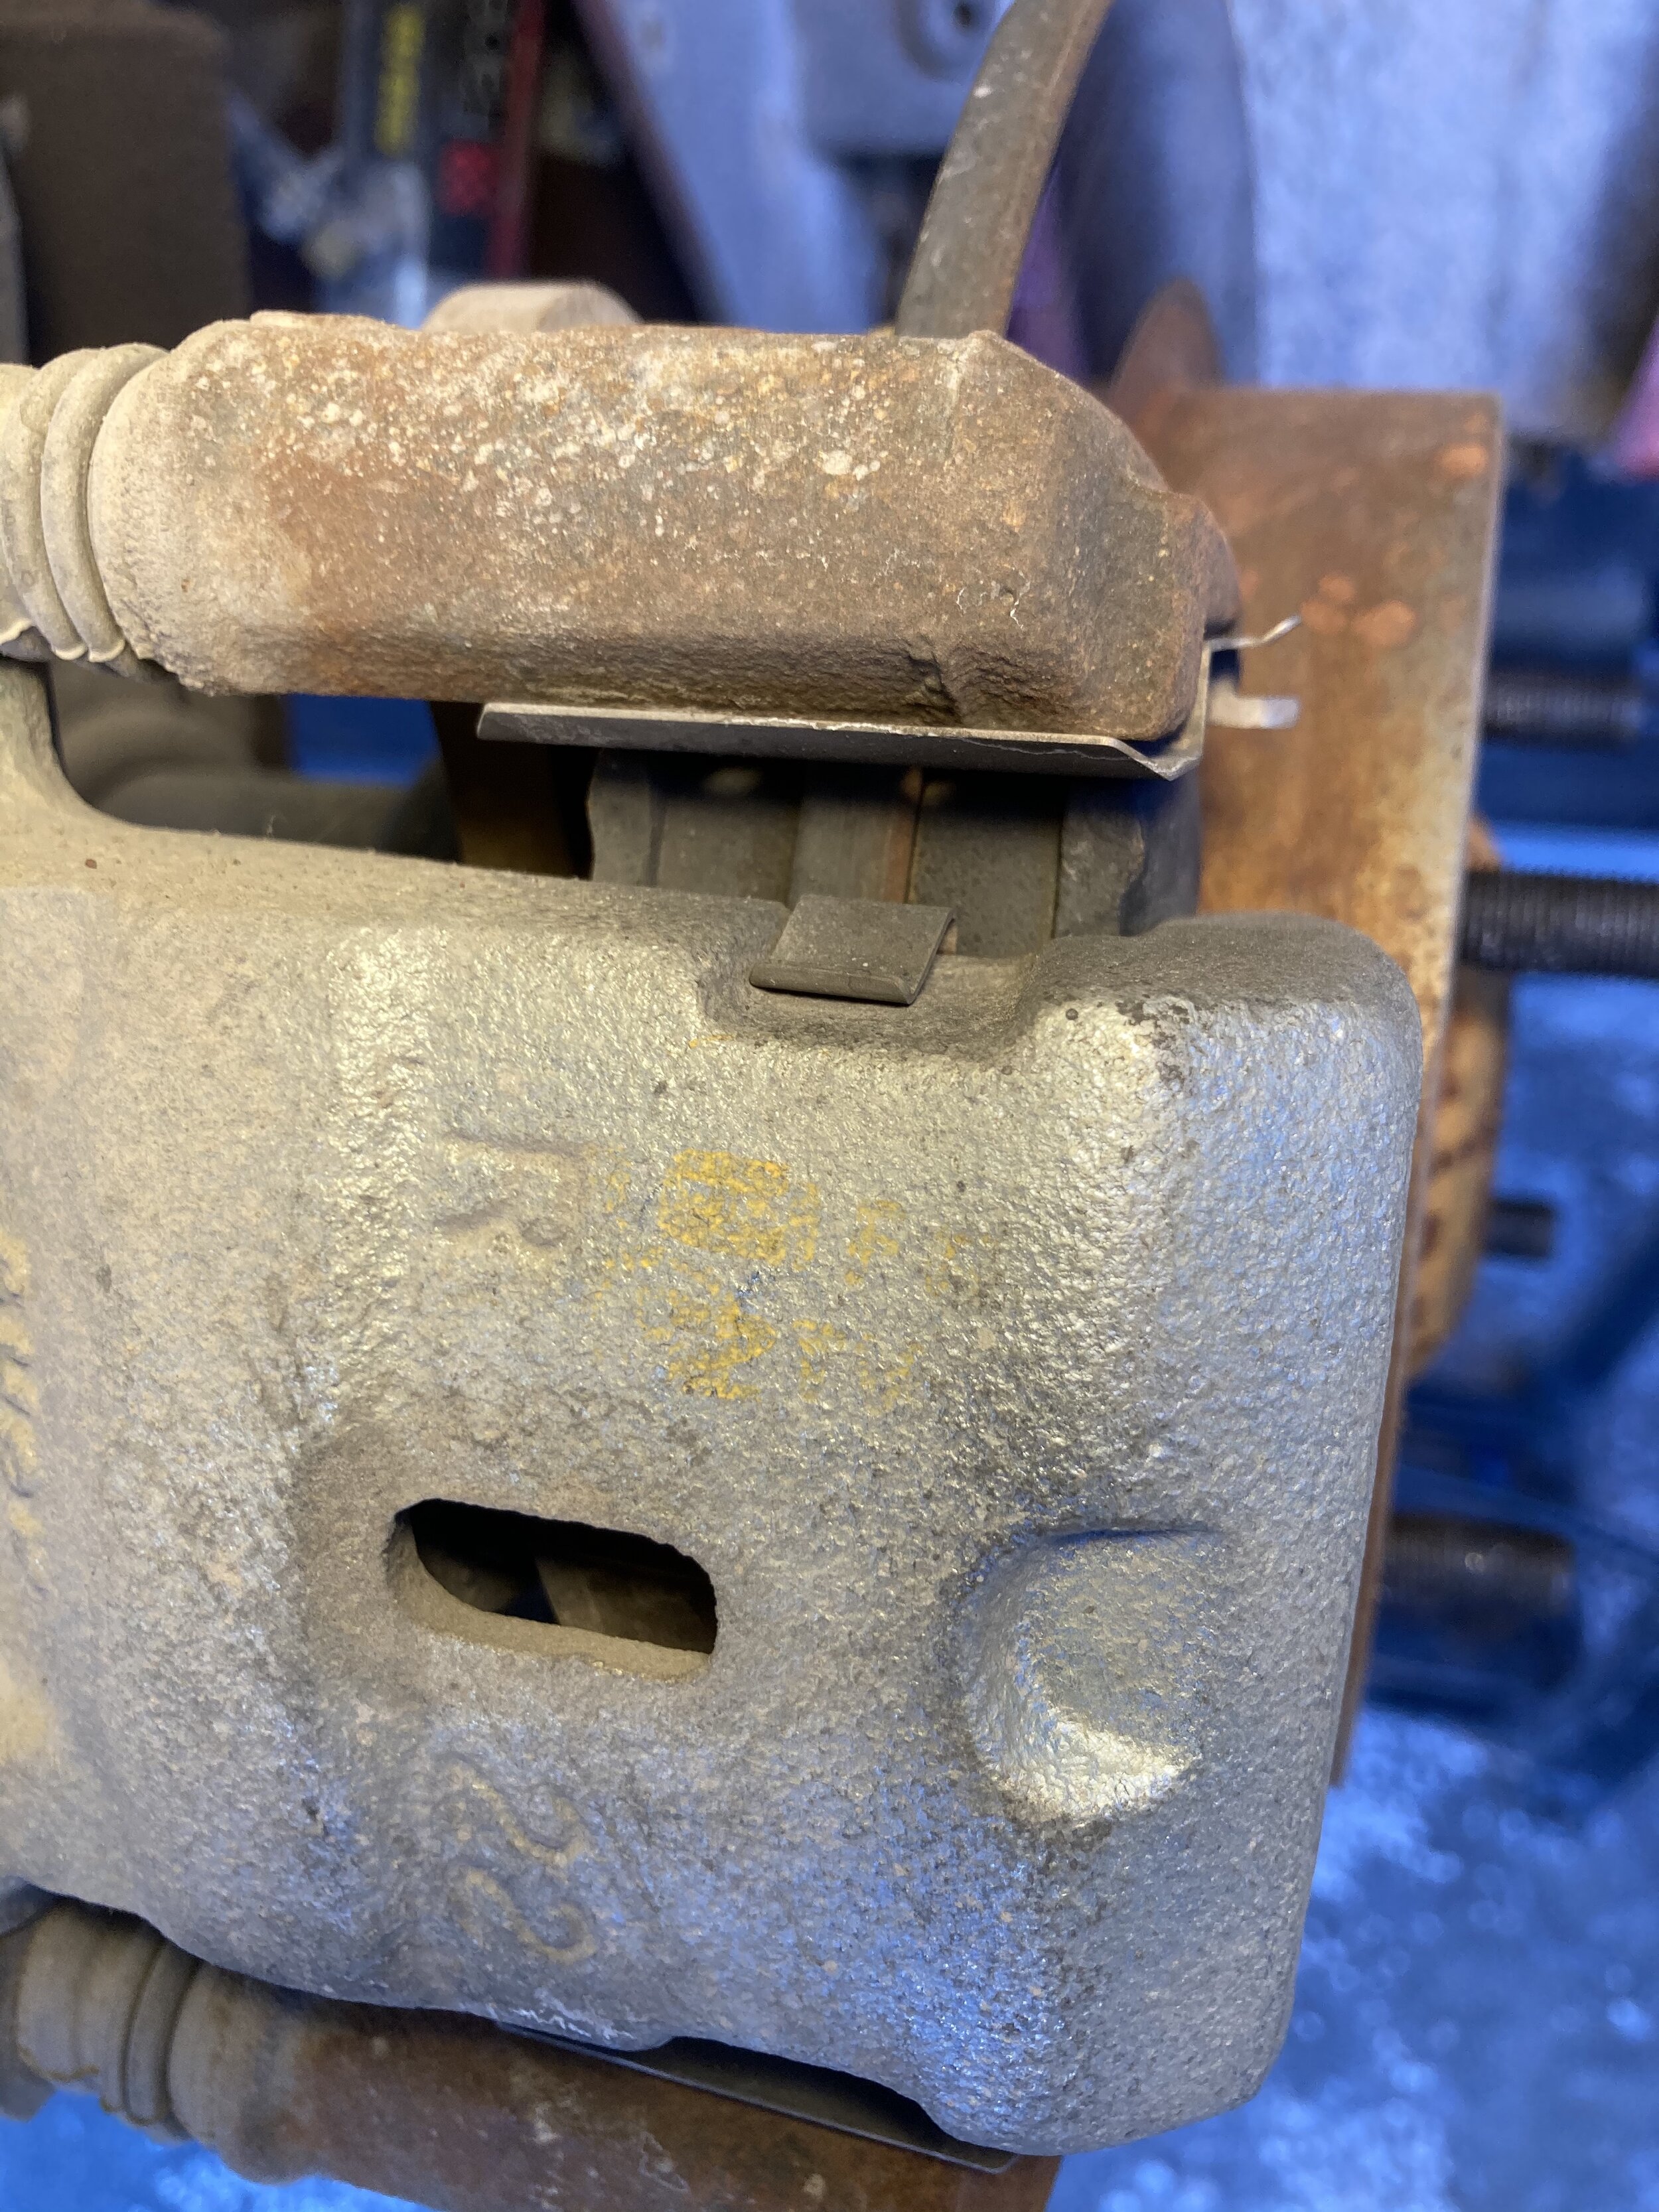
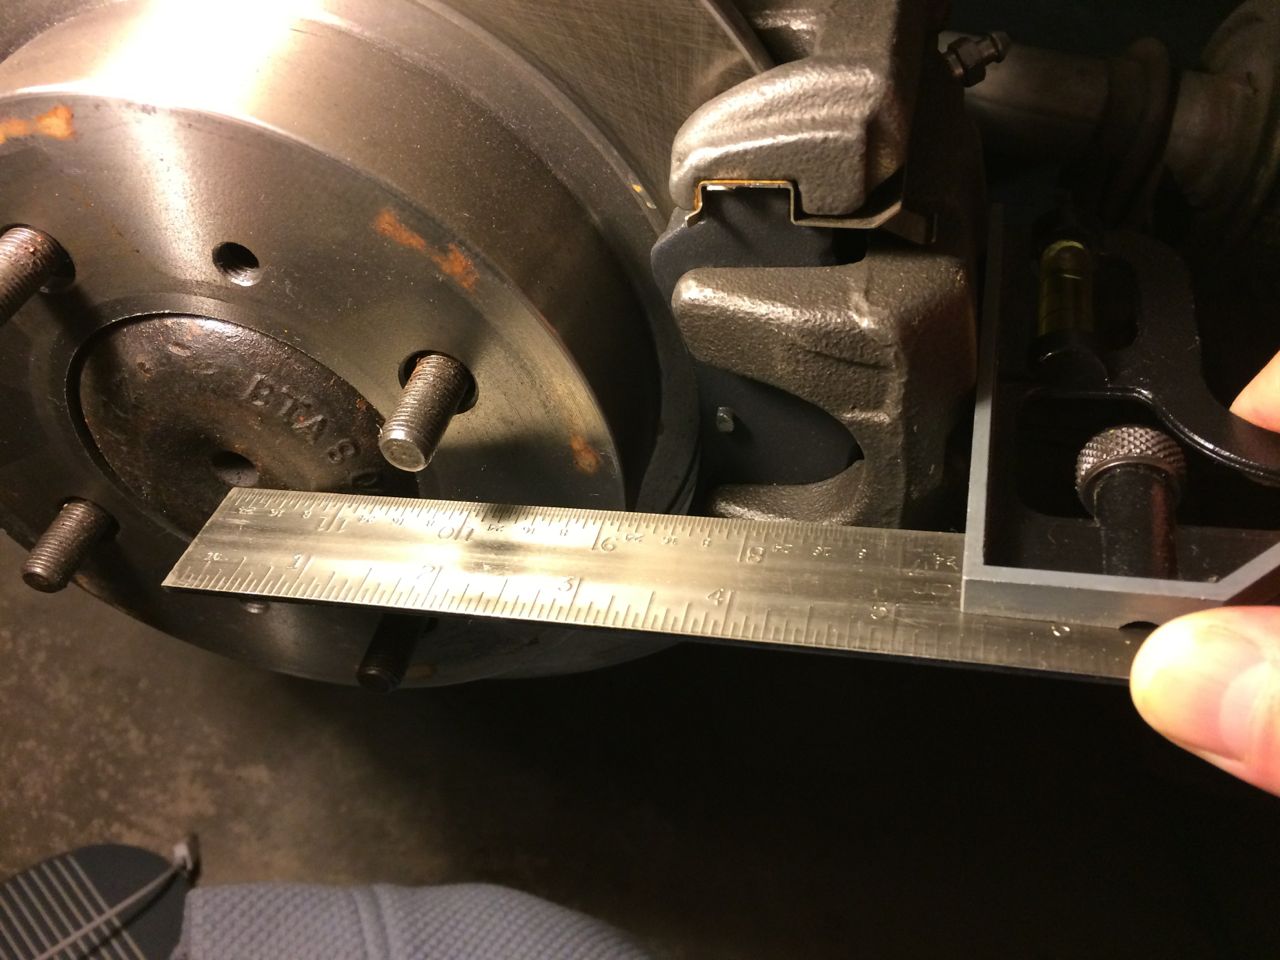
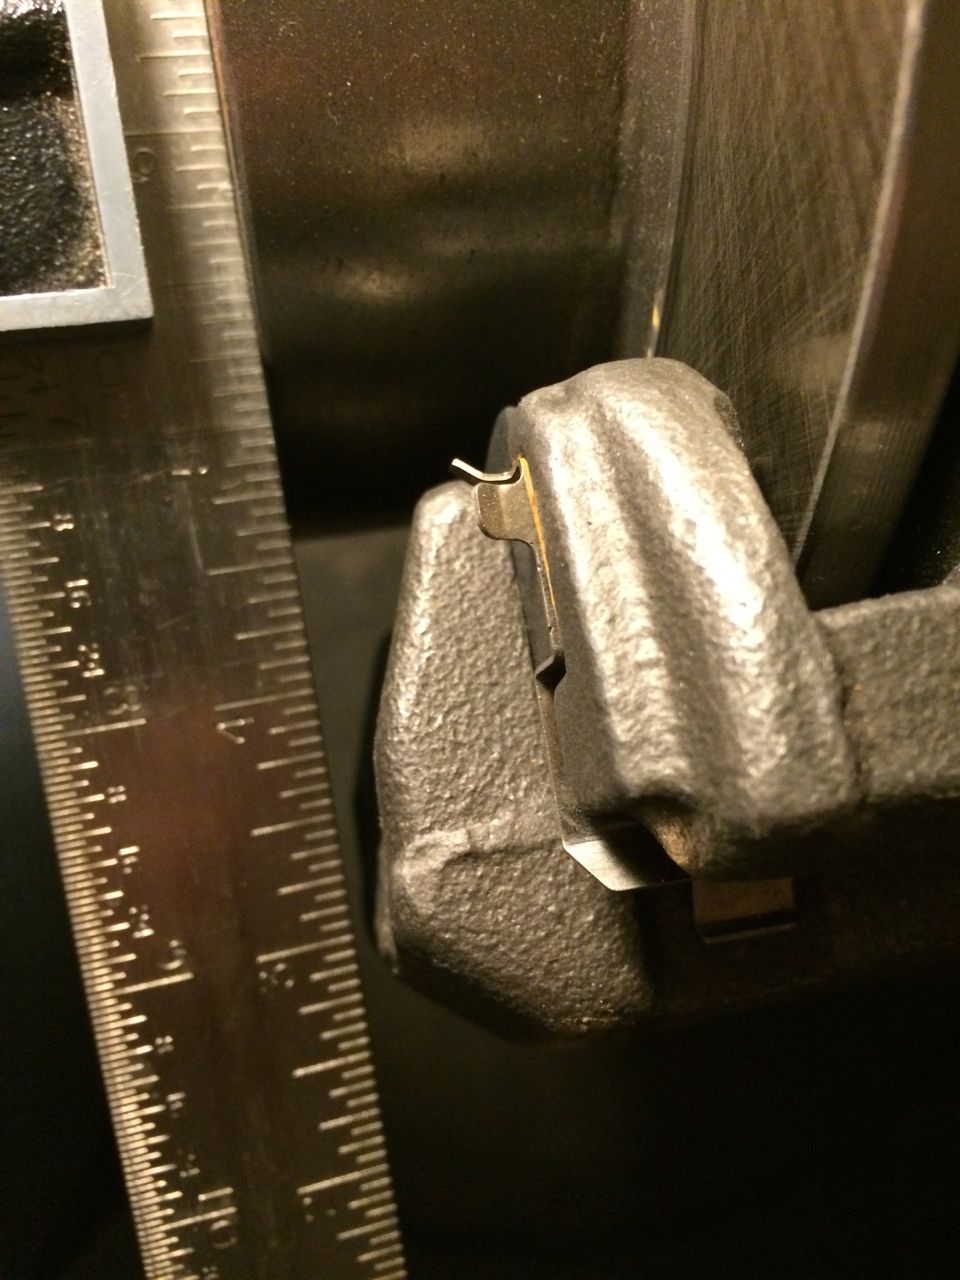
The first photo is of the caliper O.D. measured in a radial dimension from the axle center: 136.55mm.
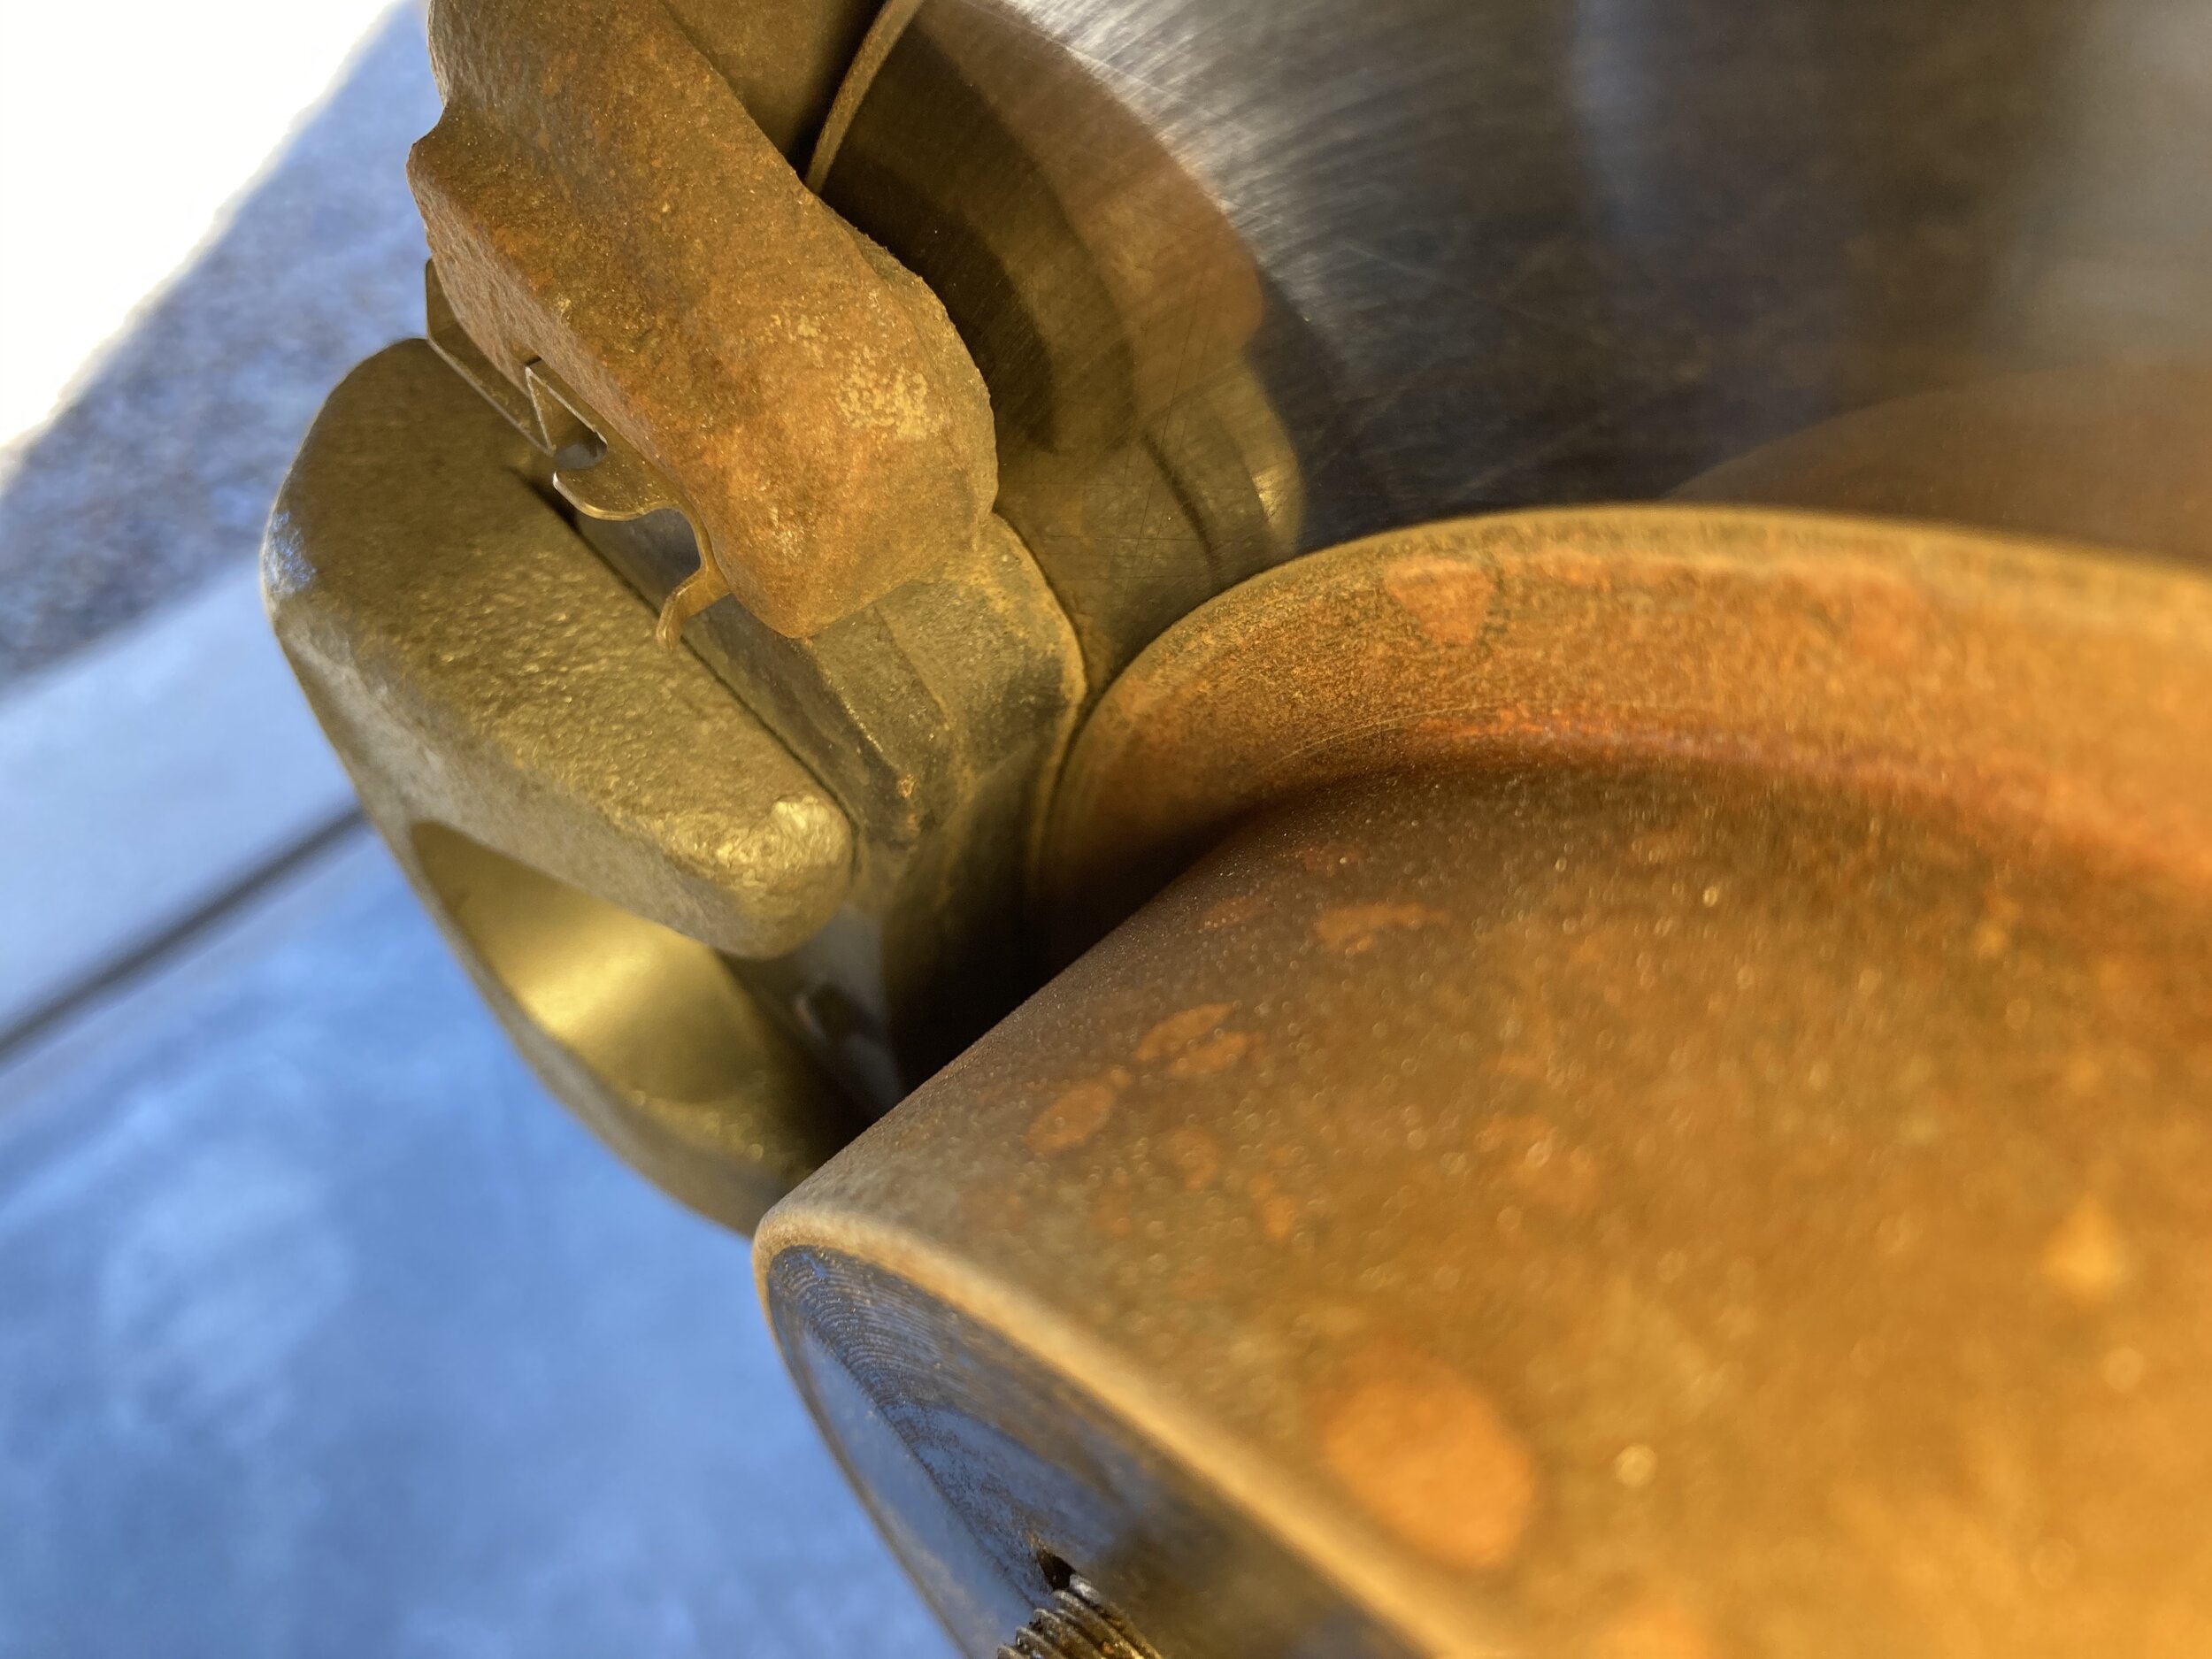
The second photo is of the caliper clearance in a lateral dimension, as measured from the rotor 'hat' which mates with the wheel: 2.3mm.
Notes on hydraulics:
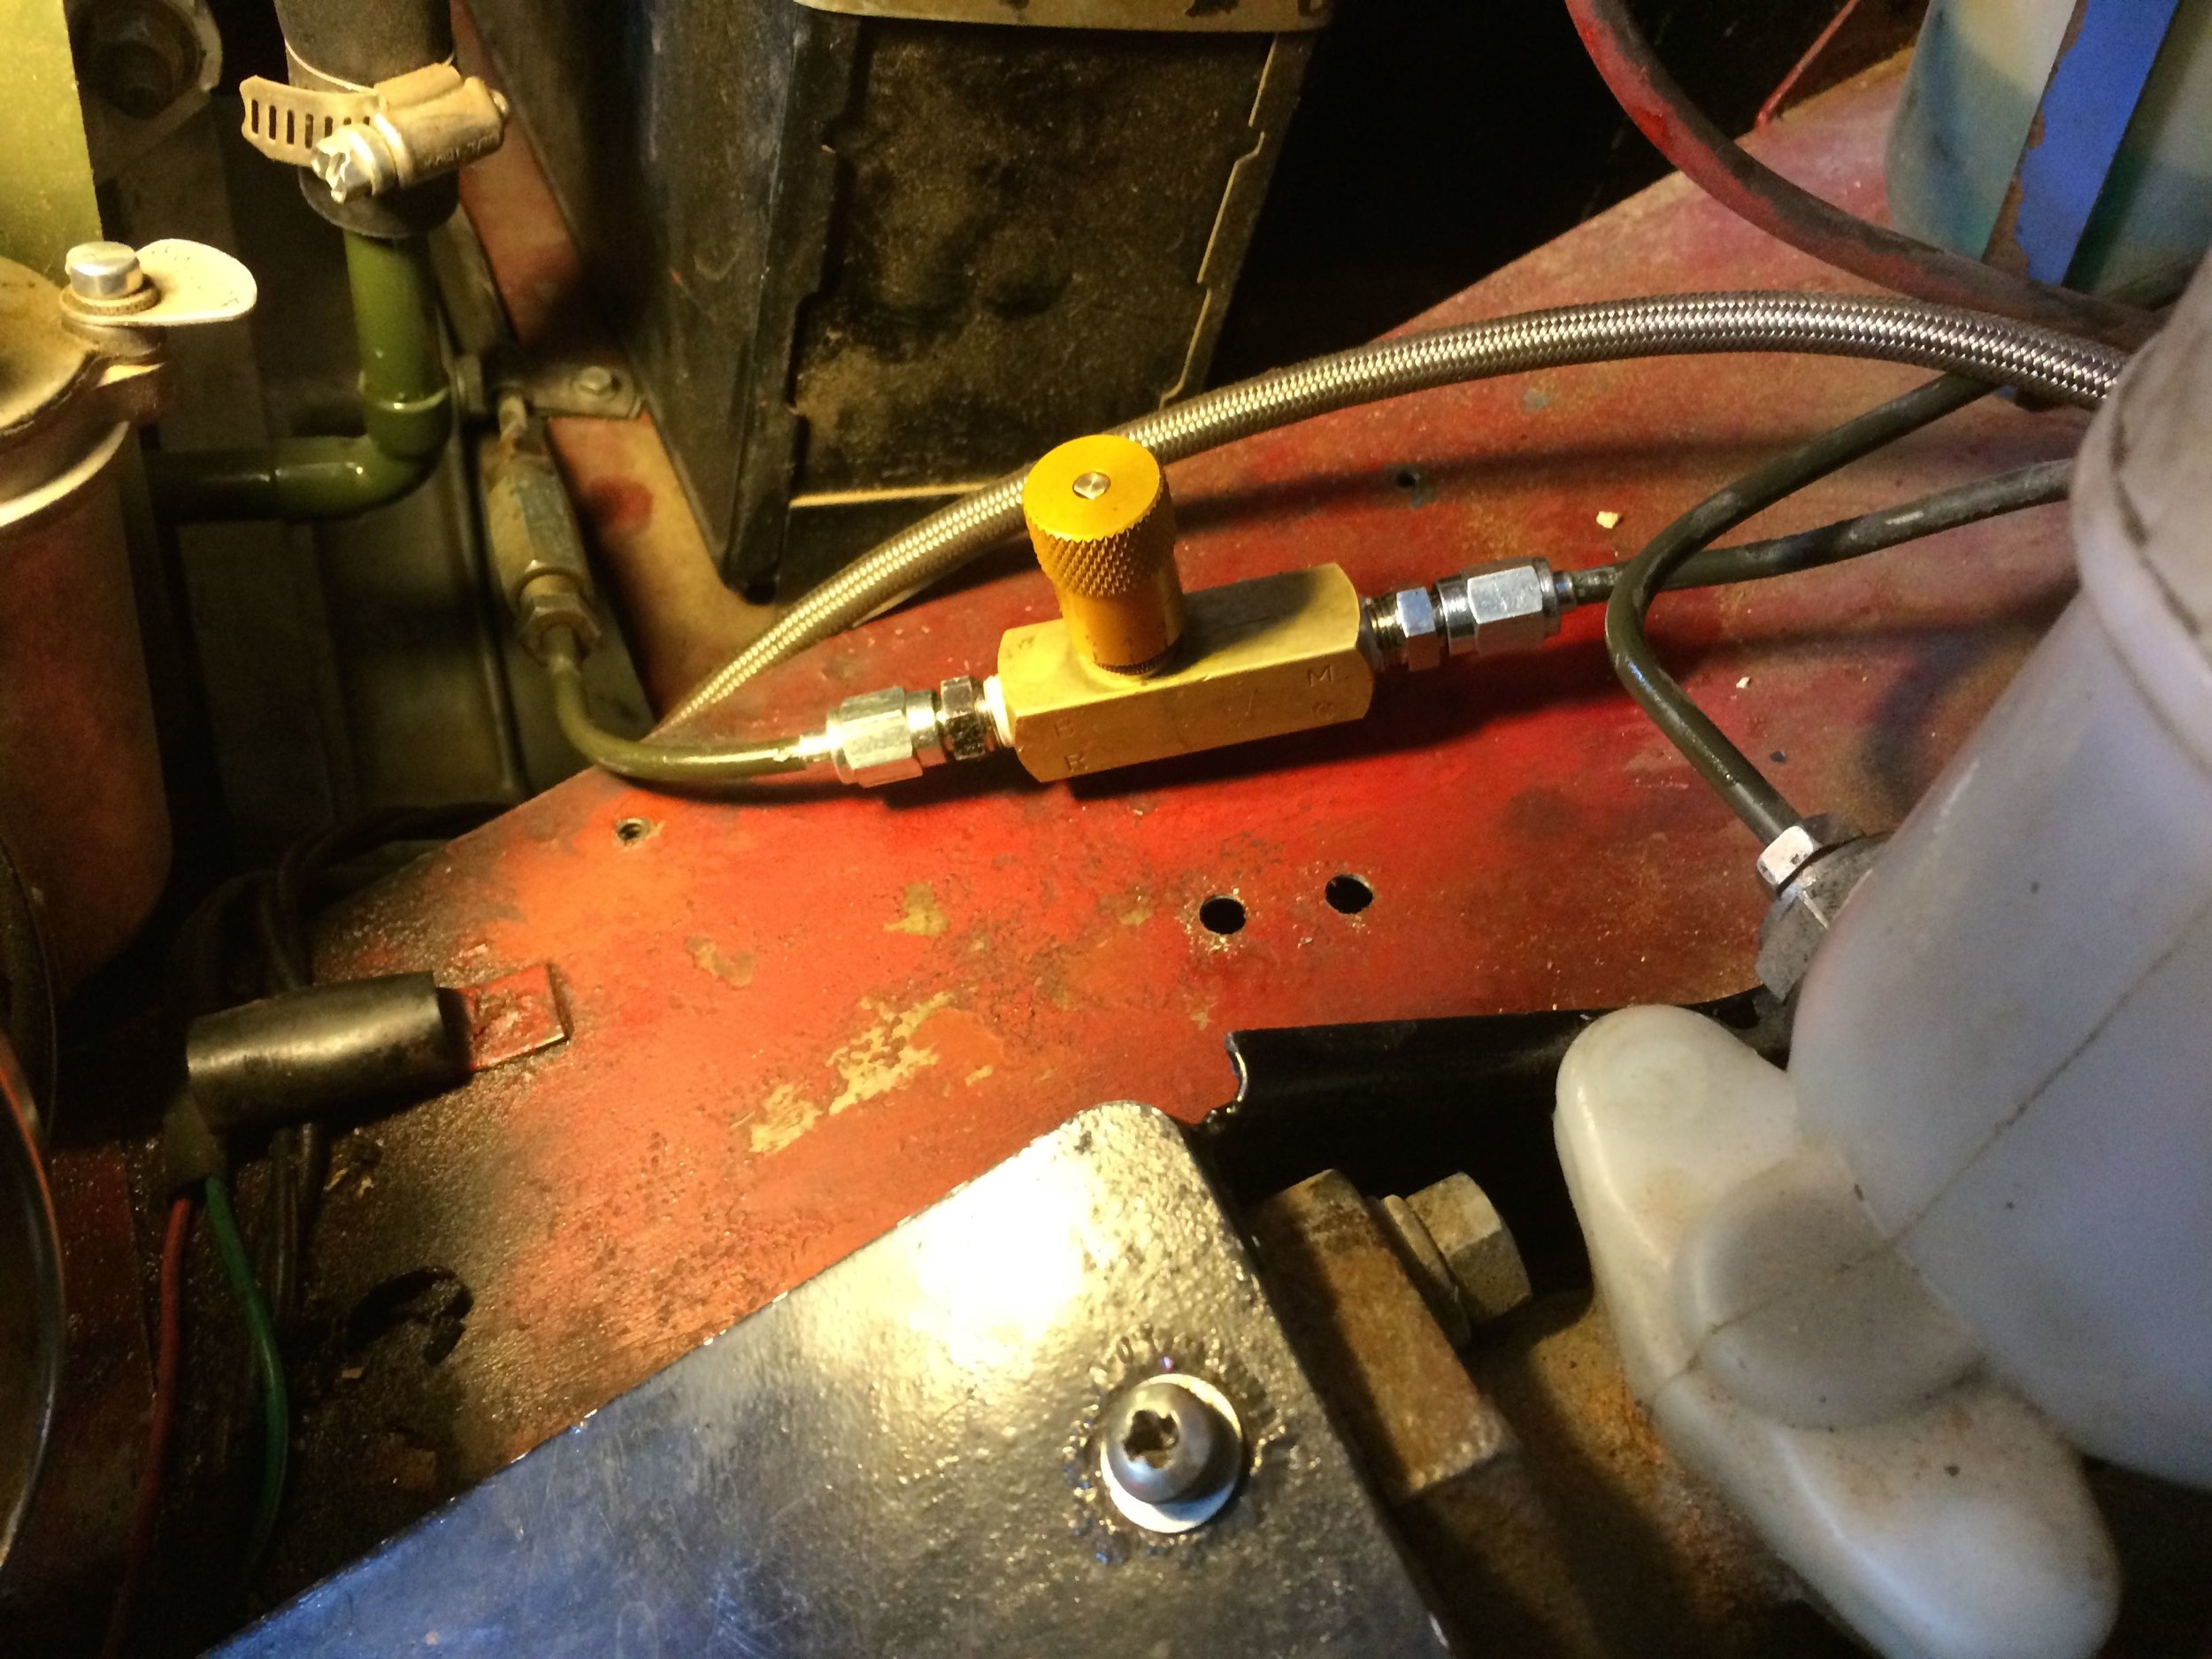
First, if you have stock Lockheed front disc brakes, you must install a proportioning valve (see the parts list) for this conversion, as there is a definite rear-wheel bias from the powerful new rear brakes.
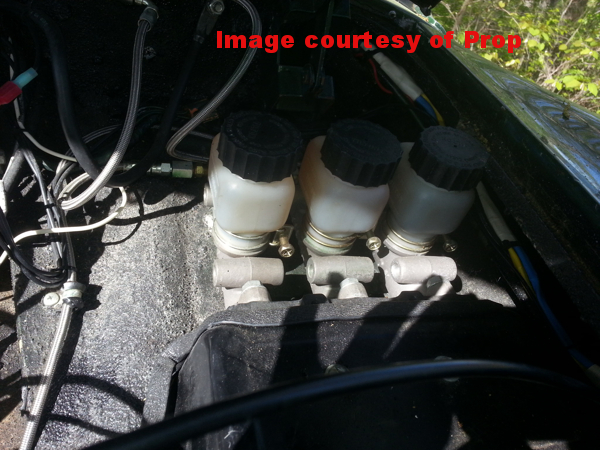
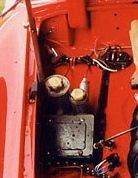
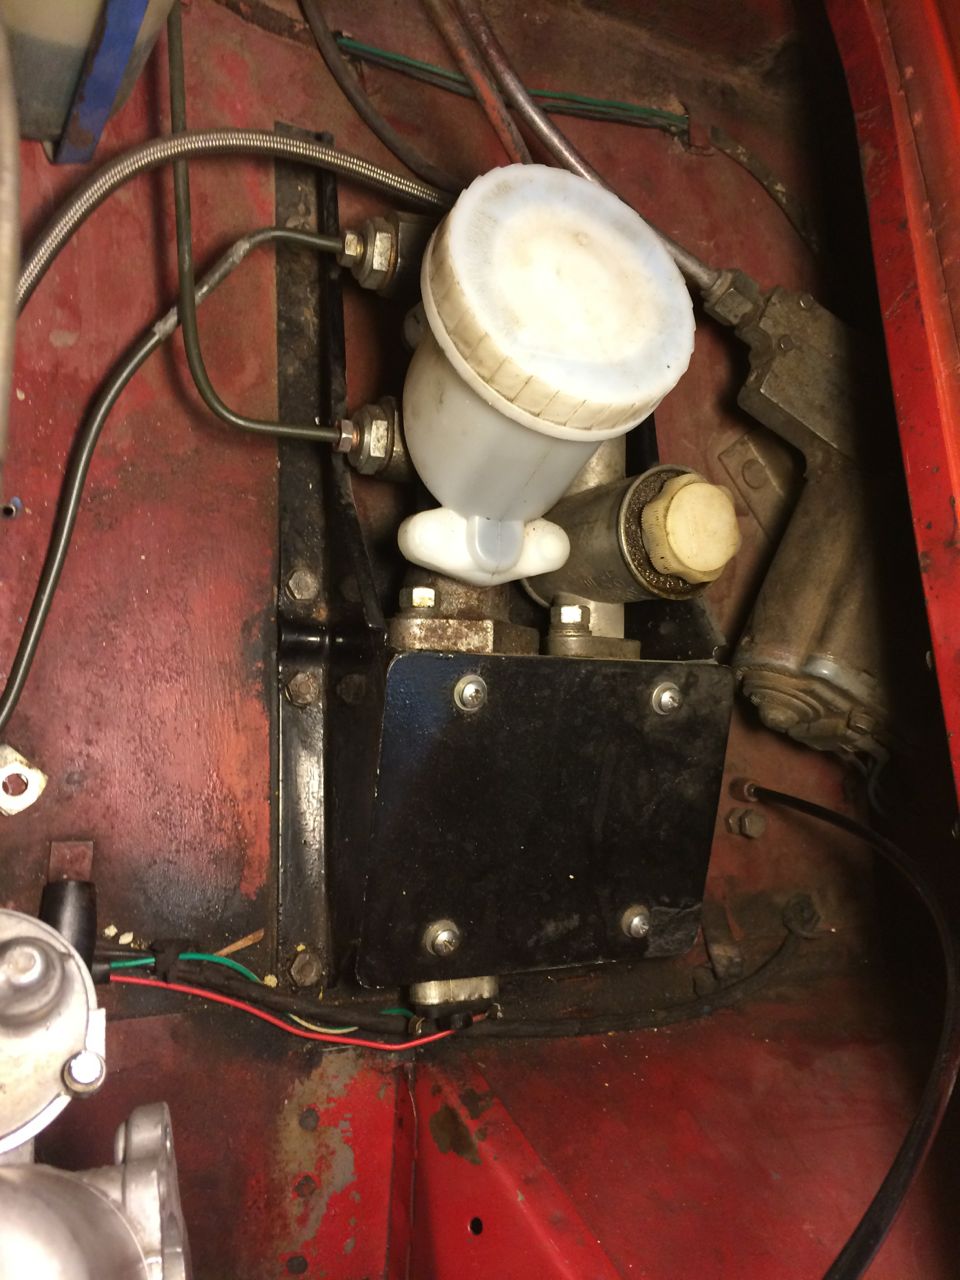
Second, there are three common master cylinder setups for Spridgets: late model dual circuit; early model single-circuit; and aftermarket triple-cylinder.
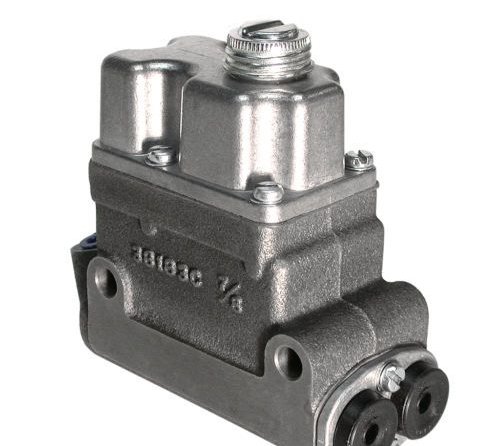
Single-circuit cylinders come in two varieties. On the left is a dual-cylinder model (the large reservoir is the brake cylinder); on the right is a twin-bore model.
Cars with single-circuit, dual-cylinder models may want to install a later model, dual-circuit version, as was done to the '67 MG Midget test car:
The cost is modest ($38.00 for the master cylinder at www.rockauto.com, $10.00 for a short brake line, and $13.00 for an in-line fitting available at the local auto parts store or on-line). However, the separate rear circuit enhances your safety and makes adding a proportioning valve that much easier.
Early cars with twin-bore, combination brake and clutch master cylinders that sit down inside the footwell's sheet metal, rather than in a raised pedal box, are more difficult to convert to a dual-circuit master cylinder.
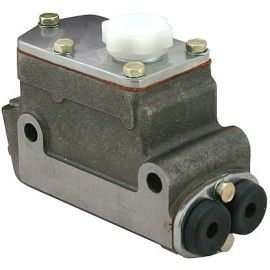
The twin-bore style will handle disc brakes, but note that it comes in two bore sizes: 7/8" and 3/4". Either size will work with disc brakes, but the 3/4" bore is what the factory chose for disc-brakes, as it yields 33% less pedal effort.
If you have a 7/8" version, you can have it modified by Gerard Chateauvieux. Press this button for a related discussion on his website and a contact link:
An increased-capacity reservoir cover is a nice option, but not really necessary. Notice that the master cylinder in this image is a 7/8" bore:
Those who desire the ultimate in braking power and safety can mount an aftermarket, triple cylinder system. The front and rear circuits each have a dedicated master cylinder: